
Gel X Nails: The Complete Guide to Soft Gel Extensions
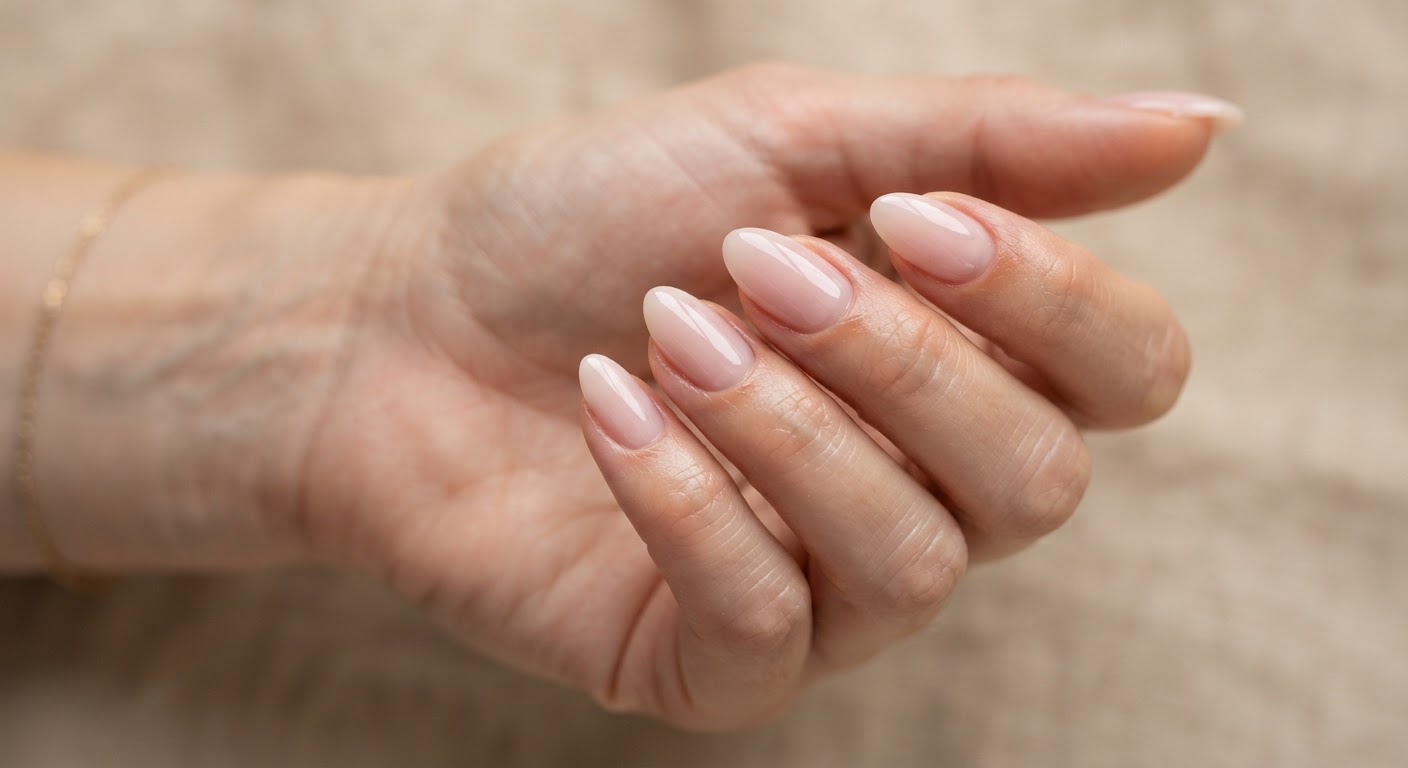
Gel X nails are the fastest-growing way to wear nail extensions — and for good reason. Instead of sculpting acrylic or gluing on plastic tips, the technique bonds a pre-shaped soft gel tip over your entire natural nail and cures it under a UV/LED lamp. The result is a full-coverage extension that feels light, looks like natural gel polish, takes about half an hour once you know the steps, and soaks off in acetone when it is time to change.
This guide explains what gel X nails actually are, how the system works, how to apply a set step by step, how long it lasts, how to remove it safely, and how it compares with acrylic and other extension methods — written for both clients trying it for the first time and the nail professionals offering it in the salon.
What are gel X nails?
"Gel X" is the popular name for soft-gel tip extensions: pre-sculpted, flexible gel tips that cover the entire natural nail, from cuticle to free edge, and bond with a brush-on gel adhesive cured under a UV/LED lamp.
The format was invented in 2018 by Aprés Nail under the trademarked name Gel-X®. Their idea was that the extension could arrive already shaped, already sized, and made of the same flexible soft gel used in modern gel polish — no sculpting beads, no filing dust, no harsh monomer smell. Because the tip covers the whole plate, there is no seam to blend and dramatically less filing of the natural nail.
Today "gel x" is used as a generic term for the entire soft-gel-tip category, the way "kleenex" came to mean any tissue. Other brands make equivalent systems under their own names:
- OPI calls theirs Gelevate
- Gelish calls theirs Soft Gel Tips
- Kokoist calls theirs Gelip
- The Gel Bottle calls theirs DesignEx
All of them work the same way: soft gel tips, a bonding gel, and a lamp. If you want to see the format at a glance, browse nail tips and gel and UV systems from verified suppliers in the directory.
How gel x nails work
A gel X set is built from three ingredients:
- Soft gel full-cover tips — pre-formed in dozens of sizes and shapes (natural, almond, coffin, square, stiletto), pre-cured at the factory so they are flexible but hold their shape.
- A bonding gel — often called "extend gel" or "bond gel," a soak-off gel that is brushed into the tip's inner well and onto the plate, then cured to lock the tip in place.
- A UV/LED lamp — usually 36W or higher, which cures the bonding gel (and any color or top coat) in seconds.
There is no liquid-and-powder chemistry, no strong odor, and no dust from sculpting. The extension bonds to the natural nail and wears like a very strong gel manicure. When the set is done, it dissolves in pure acetone just like gel polish — which is why proper removal is a soak, not a pry.
What you need to apply gel x nails
For a full at-home or salon set you need:
- A box of soft gel full-cover tips in your size
- Bond gel / extend gel
- A UV/LED lamp (36W or higher)
- Nail prep products: a dehydrator or pH bond, plus 91% isopropyl alcohol and lint-free wipes
- A cuticle pusher, a 180-grit file, a 240-grit or 4-way buffer
- Gel polish and a top coat (if you want color)
A starter kit bundles most of this — the Aprés Gel-X Professional Nail Extension Starter Kit includes the tips, extend gel, and tools in one box. You can also browse gel X nail extension kits and shop soft gel nail tips separately if you are refilling. For the lamp, look for a UV LED nail lamp rated for your gel — professional systems like those from Light Elegance offer kits and tips and lamps that pair with their gel range.
How to apply gel x nails step by step
Plan 45 to 75 minutes for your first set and 30 to 45 minutes once you have done a few. These steps work across every soft-gel-tip brand — only the product names on the bottles change.
Step 1: Gather your kit
Lay out your tips, bond/extend gel, lamp, prep products, pusher, files, buffer, alcohol, and lint-free wipes so you are not hunting for tools mid-application.
Step 2: Size every nail first
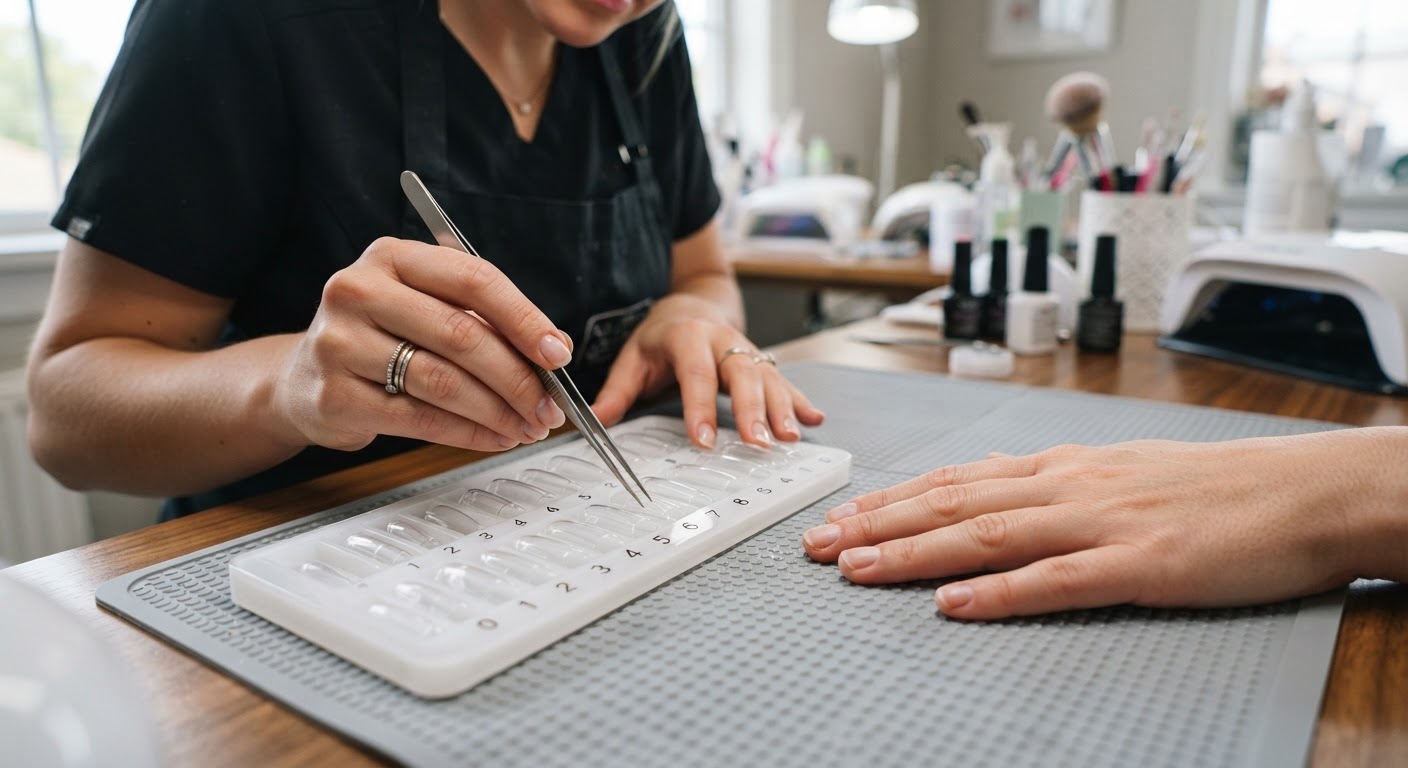
Before you open any gel, match all ten tips to your ten nails. A tip should cover the full plate without overhanging the sidewalls. If one needs a tiny trim, file the side edges with your 180-grit file. Do this now, not halfway through — once a finger is wet, switching tips is messy. The Aprés Gel-X Natural Almond tips and Natural Square Long tips come in 11-14 sizes so you can build a precise fit; a soft gel nail tip refill is all you need for later sets.
Step 3: Prep the nail plate
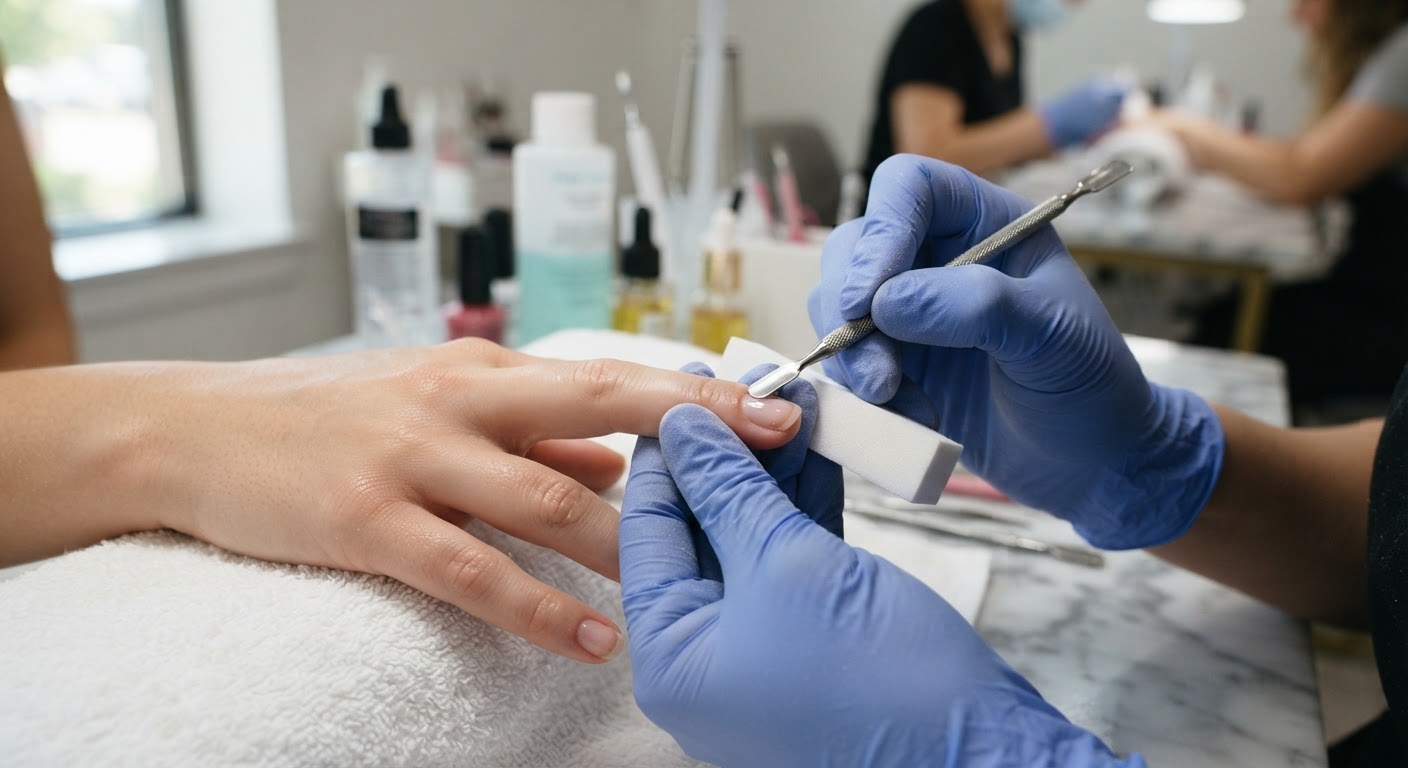
Push back the cuticles with a pusher — do not cut living skin. Lightly buff the shine off the natural nail with a buffer. You want a matte, gently textured plate, not a filed-down one. Over-filing is one of the most common ways techs damage natural nails, so keep this step gentle.
Step 4: Clean and dehydrate
Wipe each nail with 91% isopropyl alcohol on a lint-free pad, then apply a single layer of pH bond or dehydrator to remove oil and moisture. Let it air-dry for about 30 seconds. This step is what prevents lifting at the cuticle a week later.
Step 5: Apply bond gel
Brush a thin layer of your brand's bond gel onto the natural nail only — not the tip. Keep a small gap around the cuticle and sidewalls. Cure for 30 to 60 seconds depending on your lamp.
Step 6: Fill the tip with extend gel
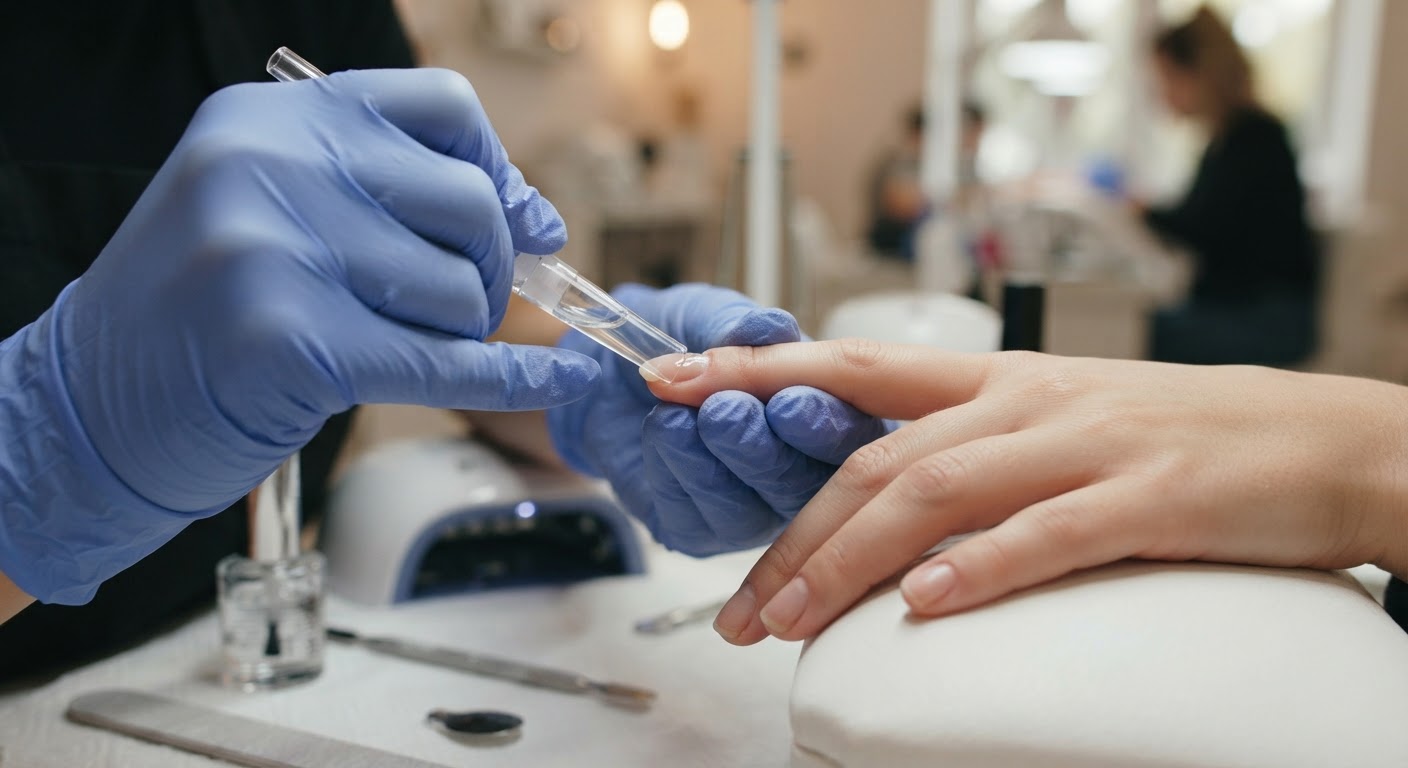
Flip each tip and fill its inner well with extend gel — enough to wet the plate without flooding the sides. An extend or builder gel that cures under your lamp is what creates the bond, so use a formula matched to the tip brand where possible.
Step 7: Place the tip
Line the tip's inner edge up with your cuticle line. Press down at a 45-degree angle from the free edge toward the cuticle, rolling the tip down so no air bubbles are trapped. Hold for 5 to 10 seconds, then wipe any squeeze-out from the sidewalls before curing.
Step 8: Flash cure, then full cure
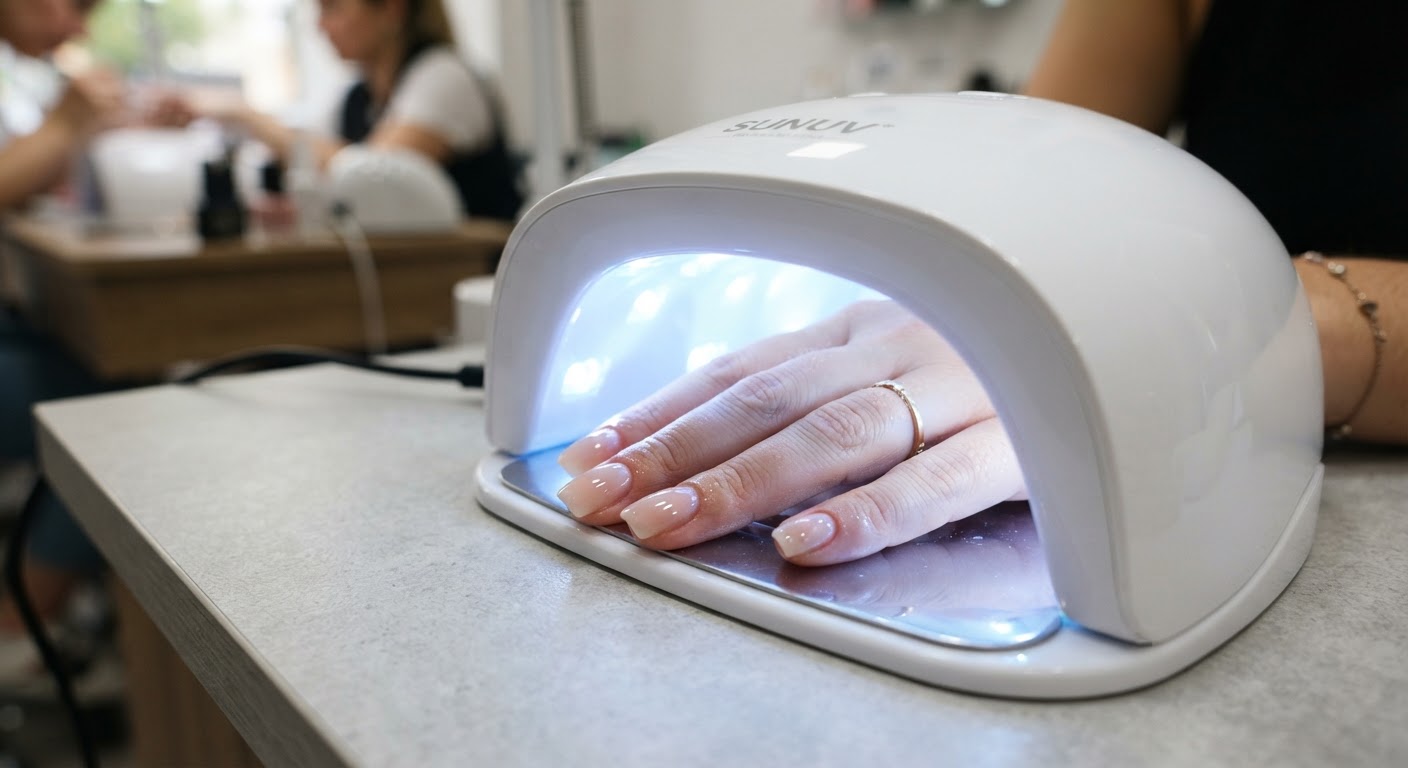
Cure each tip for 30 seconds to lock placement, then do a full 60-second cure from above. Do not cut cure time short — an under-cured layer is both a lifting risk and a sensitization risk.
Step 9: Shape the free edge
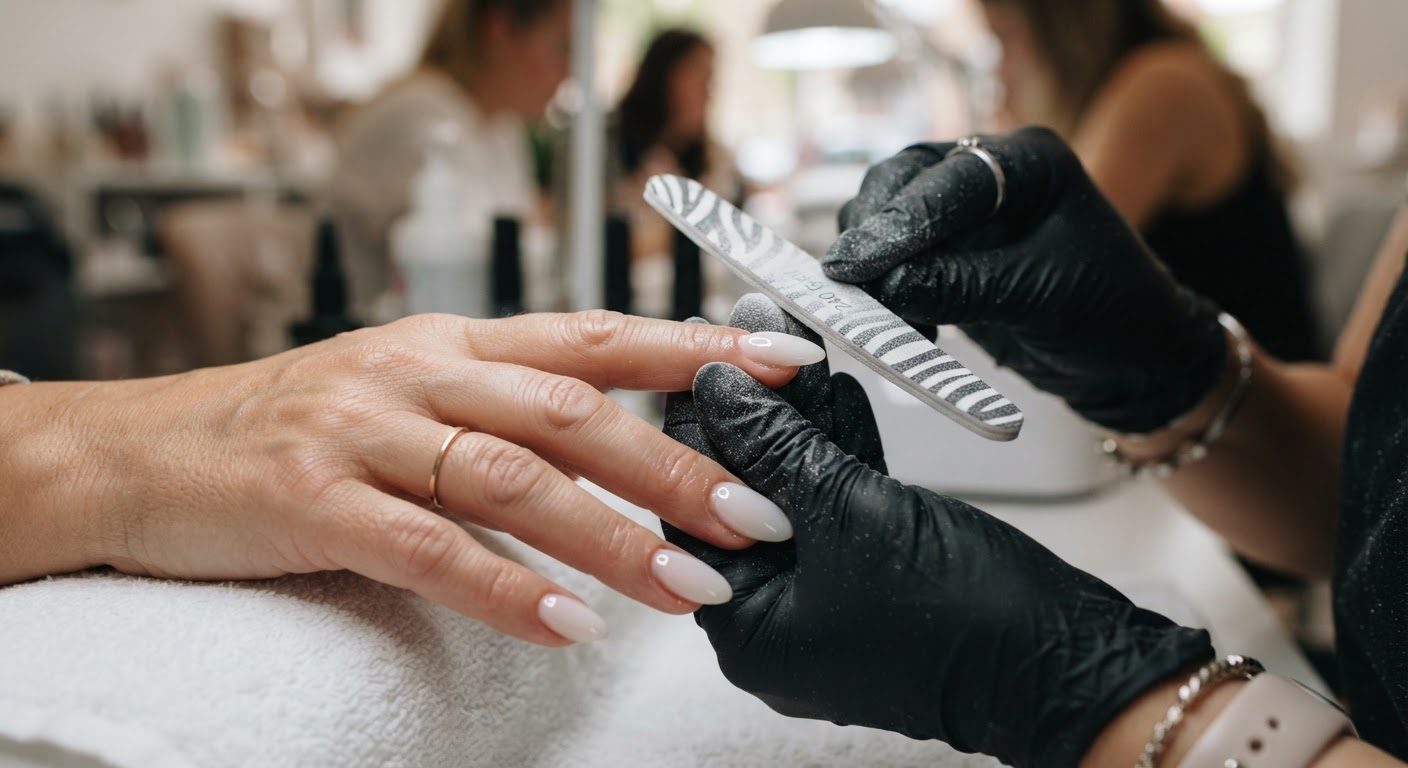
With a 180-grit file, shape the tip to your desired length and shape, filing in one direction only. Finish the edges with a 240-grit file or 4-way buffer for a clean, even line.
Step 10: Add color or finish
For a polish-free look, go straight to top coat. For color, apply two thin coats of gel polish, curing between each coat. This is where the set becomes a canvas for everything from chrome to nail art.
Step 11: Top coat and final cure
Seal the whole set with a no-wipe top coat and cure for the full recommended time for your lamp.
Step 12: Hydrate
Finish every set with cuticle oil worked into the skin around each nail plus a hand cream. Hydrated cuticles equal no lifting at the base of the tip — the number-one cause of premature gel X failure.
Watch: applying Aprés Gel-X step by step
For a professional demonstration, this official tutorial from Aprés Nail (the brand that invented Gel-X) walks through the full system from prep to finished set:
How long do gel x nails last?
A well-applied soft-gel-tip set lasts two to four weeks. Three weeks is the sweet spot most people land in — long enough to get value out of the set, short enough that natural growth at the cuticle has not created visible regrowth or lifting. Some wearers with strong nails and careful hand use push past four weeks.
What shortens that window, in rough order of impact:
- Under-prep. If the plate still has oil on it when the bond gel goes on, you will see lifting at the cuticle within 5 to 7 days.
- Flooding the cuticle. Gel that touches living skin creates a lifted edge the moment skin cells shed. Keep that small gap.
- Hot water without gloves. Dishes and long hot showers make the nail expand and contract, fatiguing the bond.
- Using your nails as tools. Opening cans, peeling tape, picking labels. The tip is flexible, but the bond at the cuticle is finite.
- Skipping cuticle oil. Hydrated cuticles flex; dry ones crack. Oil twice a day, minimum.
The single highest-leverage habit is daily cuticle oil — two drops per hand, twice a day. The same set that peels at two weeks without oil can comfortably reach four weeks with it.
How to remove gel x nails safely
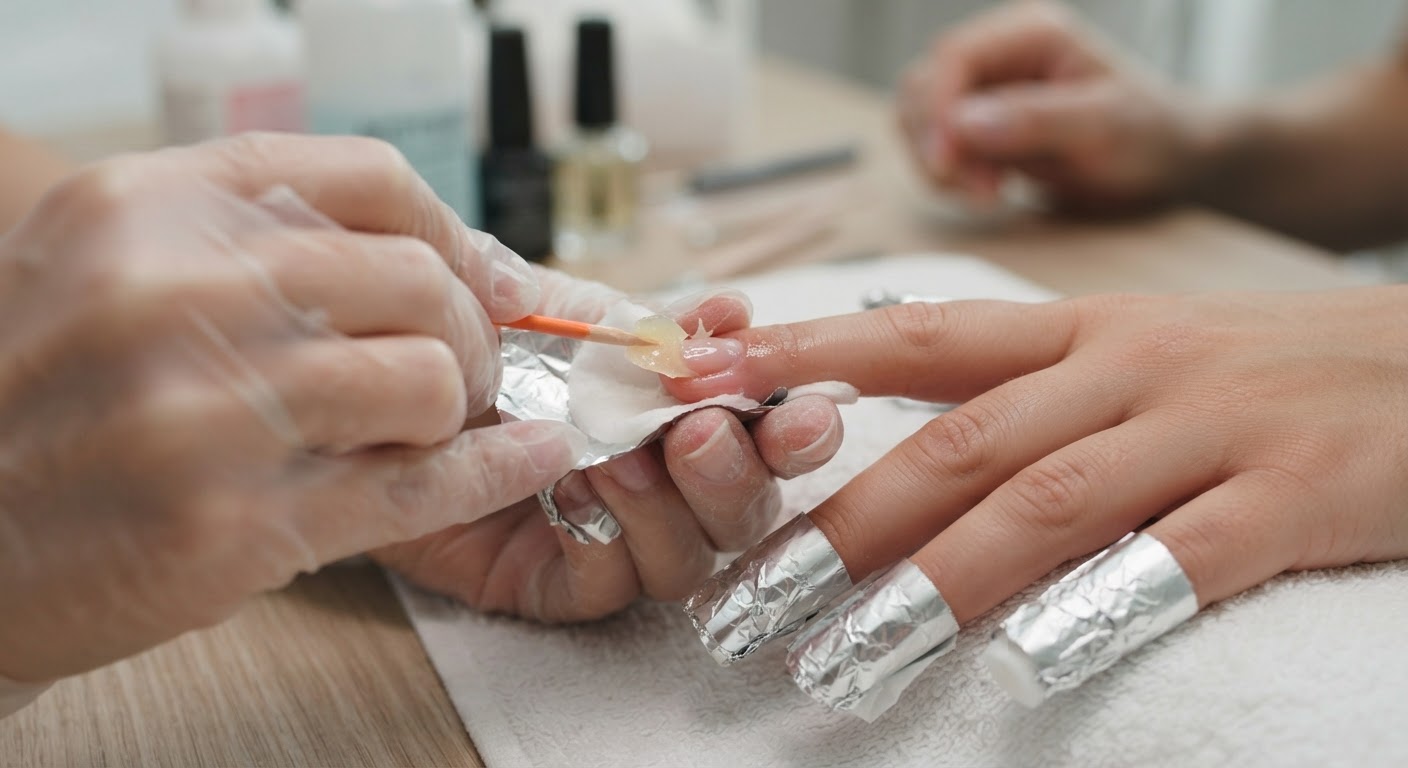
Every soft-gel-tip system is a soak-off system, not a pry-off system. Prying lifts layers of the natural nail plate with it, and those layers take months to grow back. Removed properly, soft gel extensions leave your natural nail in the same condition it was in before.
- Lightly file or buff the top layer of gel to break the seal.
- Soak each nail in 100% pure acetone for 15 to 20 minutes — soaked cotton pads sealed with foil, or a warm acetone soak.
- Gently slide the softened gel off with a wooden cuticle pusher.
- If it resists, re-soak for another 5 minutes. Never force it.
- Buff away any residual film, oil the cuticles heavily, and apply a nourishing base coat if you are not going straight into a new set.
A dedicated artificial nail remover or a bottle of 100% acetone is all you need for at-home removal.
Gel X vs acrylic, builder gel, polygel and press-ons
Every extension method solves the same two problems — adding length and strength — but they do it with different chemistry and different tradeoffs.
| System | Feel | Application | Removal | Best for |
|---|---|---|---|---|
| Gel X / soft gel tips | Light, thin, flexible | Fastest; tips already shaped, cured with a lamp | Full soak-off | Natural-looking extensions, low-odor salons, beginners |
| Acrylic | Hard, rigid, thicker | Sculpted liquid + powder, dust and odor | Filing + soak | Strong, structured long nails |
| Builder gel | Firm but flexible | Brushed and sculpted over the nail or a form | Soak-off (soak-off formulas) or file (hard gel) | Length plus strength without tips |
| Polygel | Firm, a little thick | Squeezed and shaped like acrylic but gel-based | Filing + soak | Structured nails with less odor than acrylic |
| Press-ons | Varies | Glue or adhesive tabs, minutes | Peel or soak | Temporary, no lamp required |
Gel X vs acrylic is the most common comparison. Gel X is lighter, thinner, lower odor, gentler on the plate (minimal filing) and fully soak-off. Acrylic is harder and can support more extreme length, but it is heavier and removal involves filing. If your client dislikes acrylic odor, wants a lightweight feel, or has weaker nails, gel X is usually the better choice — and if they want a very hard, very long sculpted nail, acrylic or hard gel may serve better.
When gel X is not the right choice: clients who need extreme length on very weak natural nails (the soft tips are flexible, not load-bearing), clients who want a permanently sculpted, non-soak-off enhancement, or anyone prone to prying tips off (removal damage, not the system itself, is the real risk).
Advantages and drawbacks
Advantages
- Lightweight and thin — most clients describe the feel as "barely there"
- Low odor and no filing dust during application
- Much less filing of the natural nail than acrylic
- Fast application and beginner-friendly
- Fully soak-off removal
- Works with every on-top design: chrome, cat-eye, French, nail art
Drawbacks
- Soft gel tips are flexible, so they are not ideal for heavy use or very long, extreme shapes
- Requires a proper UV/LED lamp and correct curing for reliable wear
- Removal done wrong (prying) can damage the natural nail — education matters
- Acrylate allergy (usually HEMA) is possible, mostly from uncured gel touching skin
- Costs more than press-ons and needs consumables restocked
How much do gel x nails cost?
At a salon
- Mid-tier salon, simple single-color set: $60-$120 across most of the US
- Premium metro (NYC, LA, SF, Miami), bespoke shapes or nail art: $120-$200+
- Soak-off of a previous set: $10-$30 (often waived if you rebook)
Doing it at home
- First set: a starter kit plus a lamp runs $140-$200 and covers several sets
- Each subsequent set (tips + bond/extend gel, lamp already owned): $8-$15
If you get a set every three weeks, the DIY route breaks even against salon pricing in under three months and can save a thousand dollars or more a year after that.
Gel X nail designs worth trying
Soft gel extensions are a blank canvas, and the four most-requested looks all translate perfectly:
Milky Nude
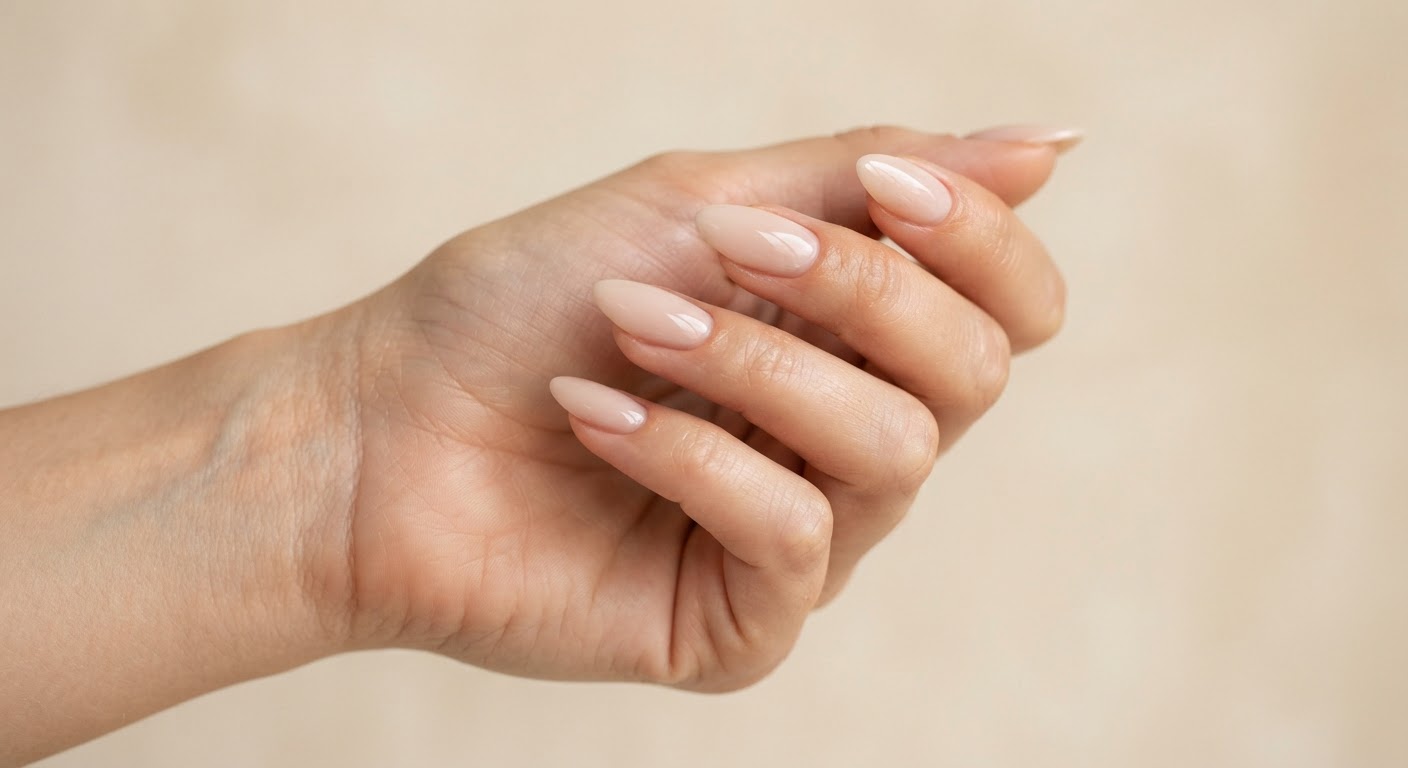
The clean-girl default. A milky nude over natural almond tips looks like very good, very even natural nails — no pattern required. Choose a milky shade close to your skin tone and let the glossy top coat do the work.
| Polish | Shop |
|---|---|
| Milky nude gel | Shop milky nude gel |
| Milky white gel | Shop milky white gel |
| Glossy top coat | Shop gel top coat |
Chrome
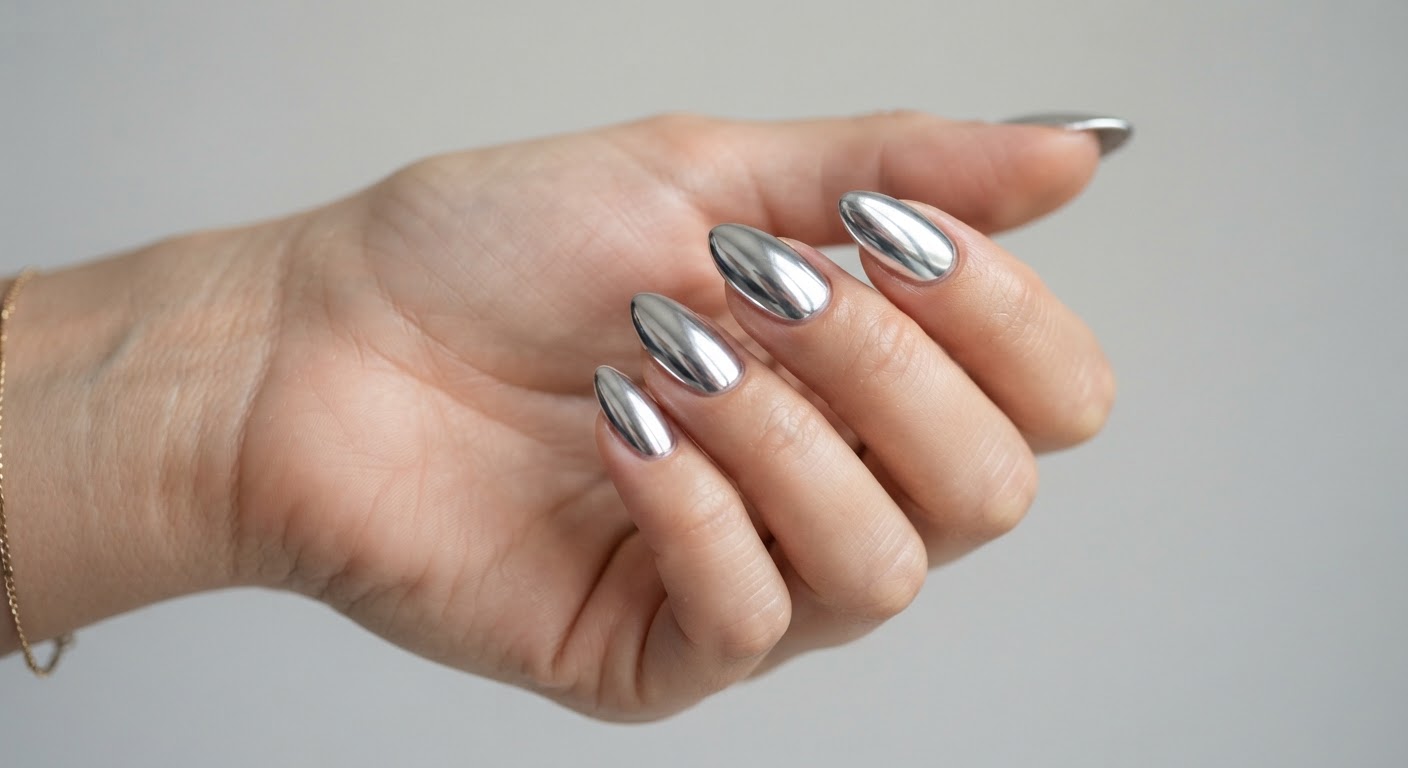
Chrome is the finish that made gel X famous on social media. A metallic powder is rubbed over a cured color or top coat for a mirror shine. It pairs with seasonal looks — fall chrome nails and Halloween chrome nails both lean on it.
| Polish | Shop |
|---|---|
| Chrome nail powder | Shop chrome nail powder |
| Milky white base gel | Shop milky white gel |
| Glossy top coat | Shop gel top coat |
Velvet Cat-Eye
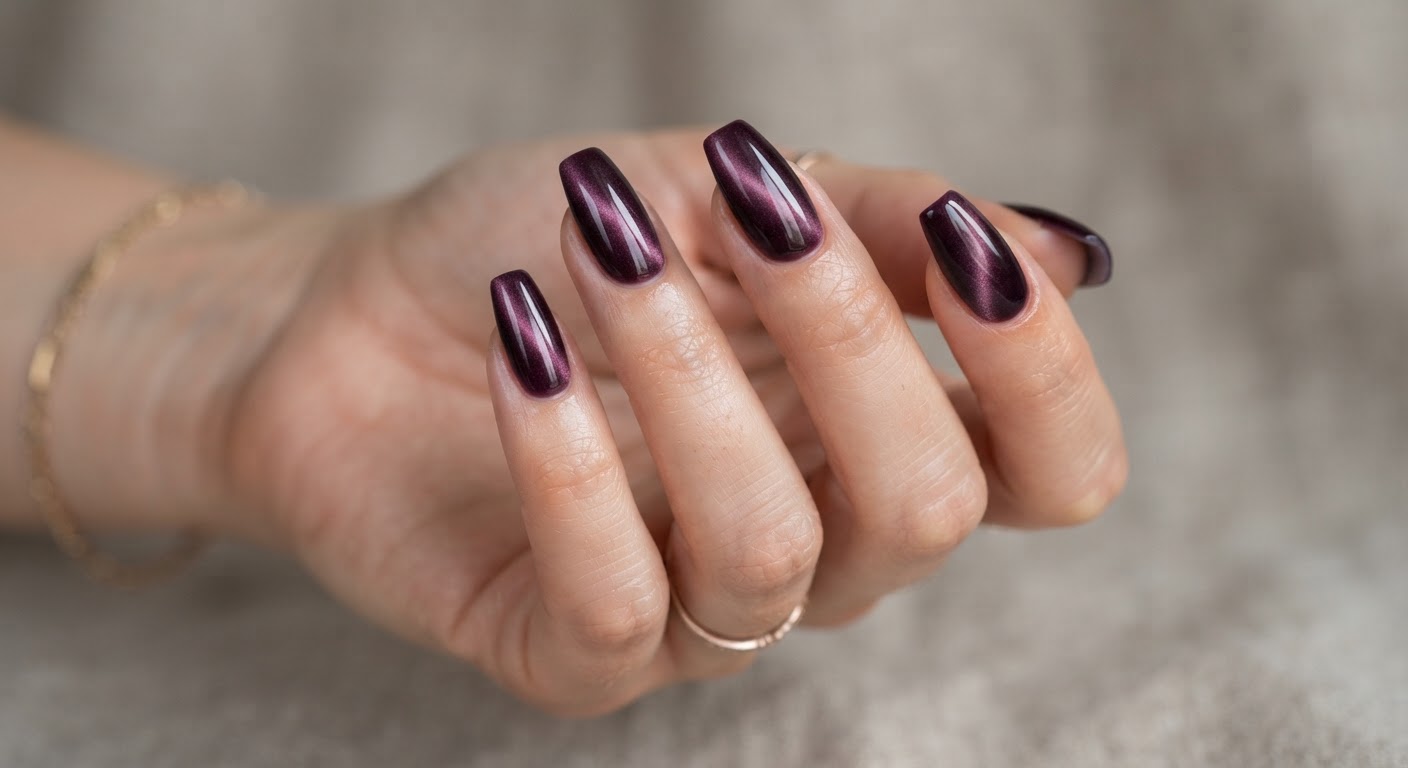
A magnetic gel swept over the extension creates a velvet beam that shifts as the hand moves. Work one nail at a time so the pigment does not settle before curing. It is the same technique behind the season's velvet cat-eye trend and looks striking in deep plum.
| Polish | Shop |
|---|---|
| Magnetic cat-eye gel | Shop magnetic gel polish |
| Plum gel | Shop plum gel polish |
| Glossy top coat | Shop gel top coat |
French Tips
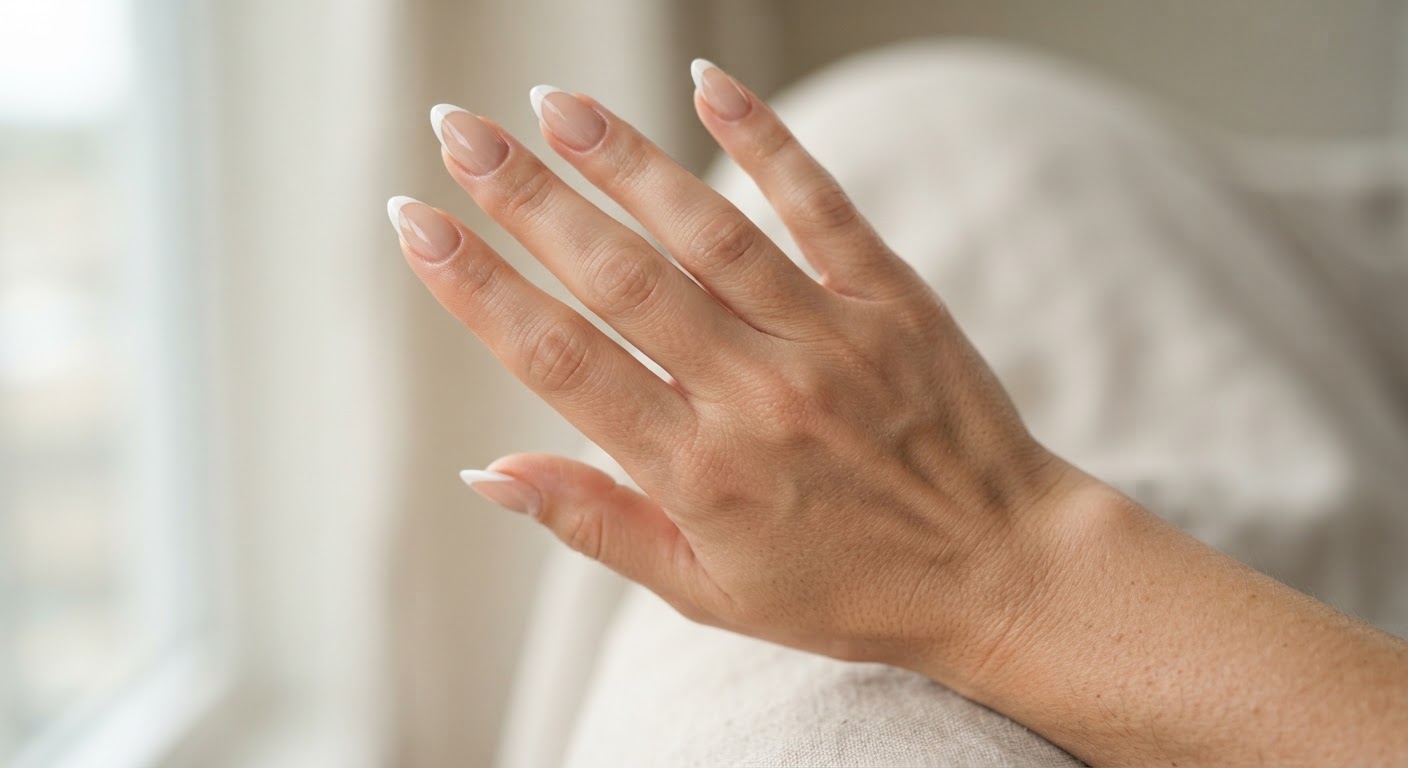
Because the tip itself is already the right shape, gel X makes French tips nearly foolproof. Paint a thin white smile line over a sheer base for the classic look, or update it with any of the ideas in our French tip nail guide.
| Polish | Shop |
|---|---|
| White gel | Shop white gel polish |
| Sheer nude base gel | Shop milky nude gel |
| Glossy top coat | Shop gel top coat |
Safety: HEMA and allergy considerations
Nail gel contains acrylate monomers that cure under UV/LED light. The most common is HEMA (hydroxyethyl methacrylate) — safe for most people when cured correctly, but also one of the most common causes of allergic contact dermatitis from nail products. If uncured gel touches skin repeatedly, it can sensitize the area, and a sensitized person can develop a lasting reaction to all HEMA-containing products.
Three practical rules:
- Keep uncured gel off skin. Keep a small gap around cuticles and sidewalls and wipe any squeeze-out before curing.
- Cure fully. Never shorten the cure time. An under-cured layer is a sensitization risk even without skin contact.
- Go HEMA-free if you react. Symptoms include itching, redness, blistering, or eczema-like dryness on the fingertips. HEMA-free gels and treatments and strengtheners exist for confirmed sensitivities.
The soft gel tip itself is pre-cured at the factory, so the allergy risk in a gel X application sits almost entirely in the bond/extend gel and any gel polish applied on top.
Frequently asked questions about gel X nails
Is Gel-X the same as Aprés?
Gel-X® is the trademarked product line made by Aprés Nail, who invented the format in 2018. Because Aprés was first, "gel x" has become consumer shorthand for the whole soft-gel-tip category. Only Aprés literally sells "Gel-X®," but OPI Gelevate, Gelish Soft Gel Tips, Kokoist Gelip, and TGB DesignEx work the same way.
Can I do gel X at home as a beginner?
Yes. Soft-gel tips are the most beginner-friendly extension system because there is no sculpting. The two non-negotiables are a proper UV/LED lamp and disciplined prep — skip the dehydrator and the set will lift.
Are gel X nails bad for your natural nails?
Applied and removed correctly, no — they are among the gentlest extension systems. The tip covers the plate with minimal buffing and soak-off removal lifts the gel without damaging the nail. Damage almost always comes from prying tips off instead of soaking.
Do gel X nails need fills?
Most techs remove and reapply rather than fill, because the natural nail grows out at the cuticle and the tip is a full cover. Fills are possible with careful blending, but a fresh set is the cleaner, more common route.
Can you type, exercise, or do dishes with gel X nails?
Yes — the set is flexible and lightweight, so typing and most daily activity feel natural. Wear gloves for dishwater and avoid using the tips as tools (opening cans, peeling labels) to protect the bond.
Can you get an allergic reaction to gel X?
Yes, but it is almost always from uncured bond/extend gel or on-top polish touching skin, not the factory-cured tip. Keep gel off the skin, cure fully, and switch to HEMA-free formulas if you react.
How long do gel X nails last?
Two to four weeks, with three weeks the common sweet spot. Daily cuticle oil is the biggest single factor in reaching the longer end.
For nail techs and salon owners: offering gel X
Soft gel extensions are one of the highest-demand, highest-rebooking services a nail tech can add. If you are building a menu or restocking:
- Start with a full-coverage tip line (natural and sculpted shapes, at least 10-14 sizes) and a matched bond/extend gel
- Invest in a lamp rated for the gel you carry — a manicure lamp with enough power cures the bond cleanly and prevents under-cure
- Stock nail prep products, files and buffers, and buffers for prep and shaping
- Offer soak-off removal and book education so clients never pry
- Add electric files and accessories if you refine cuticle areas and blend tip edges with an e-file
- Keep gel color lines and nail art supplies on hand for chrome, cat-eye and French designs
Salons and independent techs can get found by clients searching for soft gel extensions too — add or update your listing so local searchers can find you.
Keep browsing nail guides
Ready to book or build a kit? Head back to the nail blog for more technique and inspiration guides like our fall nails and French tip nails roundups, or explore the full directory to find the tips, gels, lamps and supplies behind the sets you love.
As an Amazon Associate, Nails Industry Directory earns from qualifying purchases.