
Gel Nails: The Complete Guide to Gel Manicures
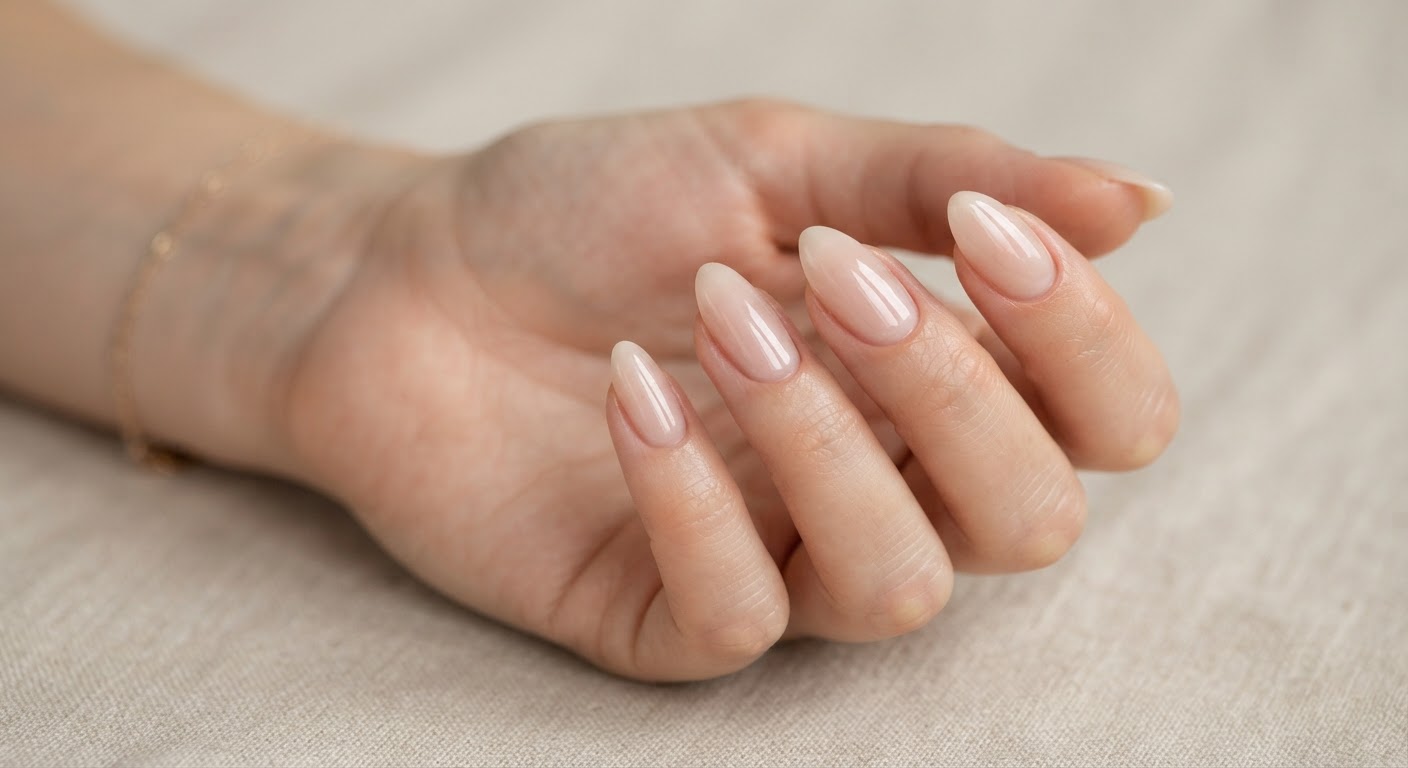
Gel nails are the manicure that made the word "chip-free" possible. Instead of waiting 15 minutes for regular polish to dry, a gel manicure builds thin layers of gel polish that harden under a UV or LED lamp in seconds — and the result wears like a glossy, flexible shell for weeks instead of days. It is why gel is the default salon service for everything from a plain nude set to chrome, cat-eye and French designs, and why at-home kits have become a category of their own.
This guide explains what gel nails actually are, how the curing chemistry works, the difference between hard gel and soft gel, how to apply and remove a set safely, how long it lasts, what it costs, how it compares with acrylic and dip, and six gel nail designs worth trying — written for first-timers doing it at home and the nail professionals offering it in the salon.
What are gel nails?
Gel nails are a manicure made with gel polish — a lacquer built from acrylate monomers and oligomers that stay liquid until they are exposed to UV or LED light. Shine a lamp on the wet layer and the light triggers polymerization: the molecules link together into a hard, plastic-like structure that is durable, glossy and resistant to chipping and smudging.
Three things make gel different from regular nail polish:
- It cures, it does not dry. The polish hardens only under a UV/LED lamp — typically 30 seconds per layer in an LED lamp or about two minutes in a UV lamp. Until it is cured, the gel stays wet.
- It is layered. A gel manicure is built in thin coats — base, color, top coat — with each layer cured before the next. Two thin coats of color are usually enough.
- It is either soak-off or file-off. This is the most important distinction, and it comes down to hard gel versus soft gel.
Hard gel vs soft gel
The entire gel category splits into two families:
- Soft gel dissolves in acetone, which is why it is called "soak-off." Nearly every gel color polish on the market is a soft gel, and it is what most people mean by a gel manicure. Soft gel has some flexibility, so it is not used for long sculpted extensions.
- Hard gel cannot be soaked off — it must be filed away to remove it. Hard gel is thicker and stronger and is the material used for sculpted extensions and overlays on very long nails.
Brands like OPI and CND — the company whose Shellac line helped popularize gel polish in salons — are mainstays of the professional gel category, and the colored gels and gel and UV systems categories in the directory are where salons and techs stock them.
Types of gel manicures
"Gel nails" is an umbrella term, and the technique you choose changes the wear, the removal and the cost:
| Type | What it is | Removal | Best for |
|---|---|---|---|
| Regular gel polish (soft gel) | Base + color + top coat cured under a lamp | Soak-off | A glossy, chip-free color manicure on natural nails |
| Builder gel | Thicker gel brushed on to add strength or a smooth overlay | Soak-off (soak-off formulas) | Weak or ridged natural nails that need reinforcement |
| Hard gel | Strong, thick gel used to sculpt overlays and extensions | File-off | Long sculpted nails and structured extensions |
| Dip powder | Powder + activator layers; not strictly a gel but often grouped with long-wear systems | Soak-off (filing for bulk) | Strength without a lamp |
| Russian / structured manicure | Meticulous cuticle prep and tight application, done in hard or soft gel | Depends on the gel used | A perfectly clean, long-wearing look |
| Gel extensions (soft gel tips) | Pre-shaped soft gel tips bonded over the natural nail | Soak-off | Length and shape without sculpting |
If you want length, a soft gel extension set or a hard gel sculpt is the route; if you want a strong, glossy color manicure on your own nails, regular gel polish is the workhorse. Builder gel sits in between — it is the popular choice for reinforcing thin nails while keeping a natural look.
What you need for a gel manicure
A complete at-home or salon gel manicure needs:
- A gel base coat and a gel top coat (or a kit that includes them)
- Gel color polish in the shades you want
- A UV or LED lamp rated for your gel
- Prep products: a cuticle pusher, a 180-220 grit file, a buffer, and 91% isopropyl alcohol or a gel cleanser
- Cuticle oil for aftercare
A gel nail polish starter kit bundles the polishes, base and top coat together — the fastest way to get started. For the lamp, browse UV/LED nail lamps and match the wattage to what your gel brand recommends; most modern gels cure in 30-60 seconds. Professional lines such as Light Elegance sell UV gels and lamps engineered to work together, and dedicated manicure lamps are the directory category where techs source them.
How to apply gel nails step by step
Plan about an hour for your first set, and 30-45 minutes once you have the rhythm. These steps work for every gel brand — only the bottle names change.
Step 1: Shape and clean the nail
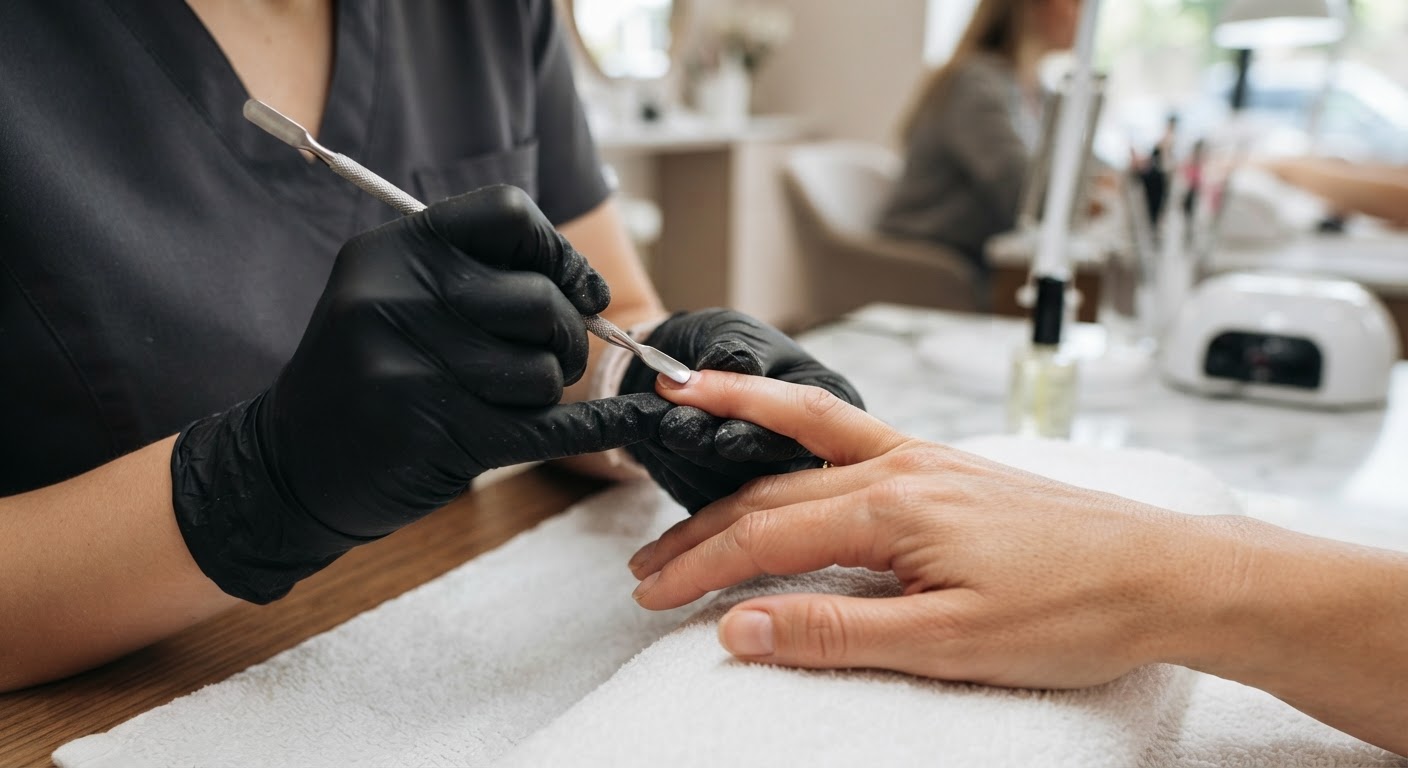
File your nails to the shape you want before any gel goes on — you cannot reshape a cured gel color the way you can acrylic. Push back the cuticles with a pusher (do not cut living skin), then lightly buff the shine off the nail plate. You want a matte, gently textured surface, not a filed-down one: over-filing is one of the most common ways a gel manicure damages natural nails.
Step 2: Clean and dehydrate
Wipe each nail with 91% isopropyl alcohol on a lint-free pad to remove oil and dust. Some techs follow with a pH bond or dehydrator. This step is what stops the gel from lifting at the cuticle in week one.
Step 3: Apply the base coat
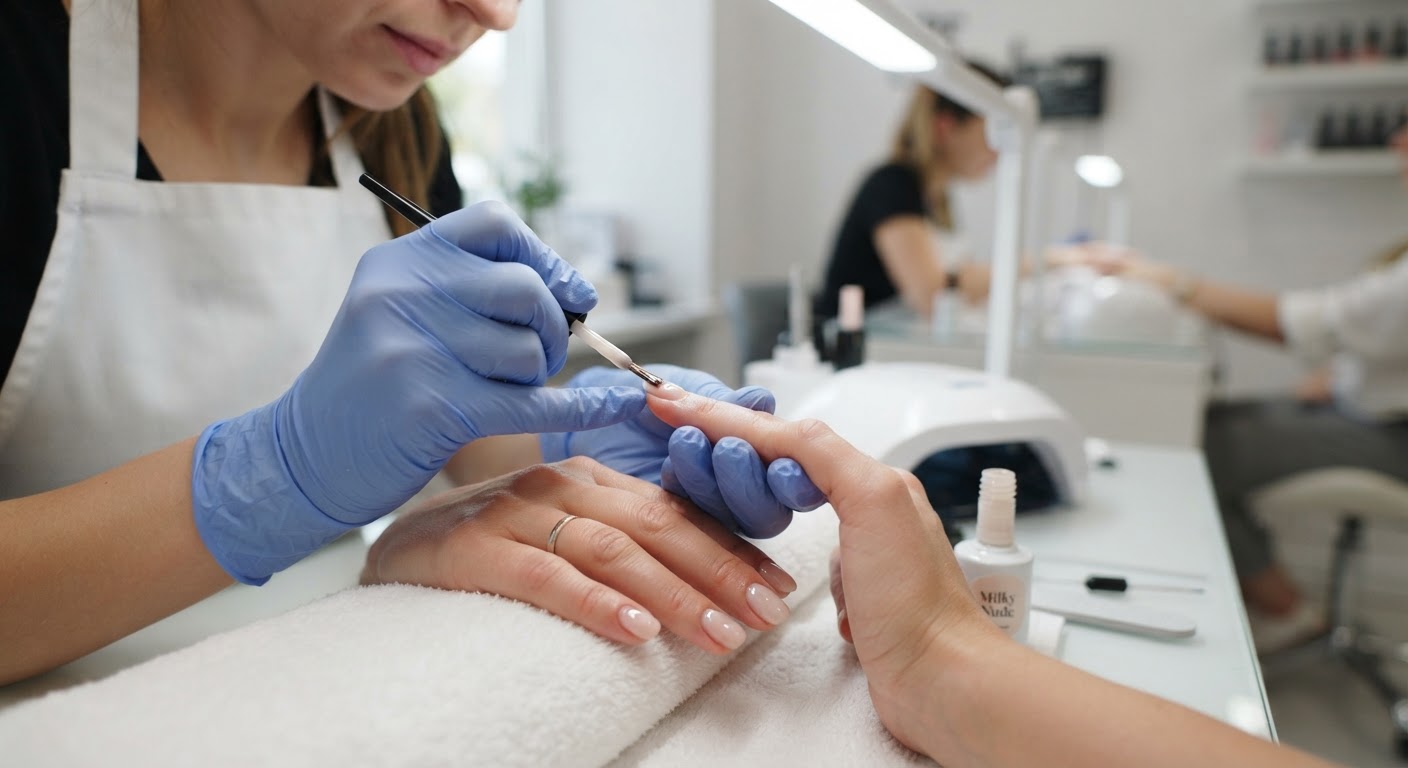
Brush on a thin layer of gel base coat — thin coats are the rule for every layer — keeping a small gap around the cuticle and sidewalls. Cure for the time your lamp specifies (usually 30-60 seconds).
Step 4: Add two coats of color
Apply your first thin coat of gel color, capping the free edge, and cure. Apply a second thin coat and cure again. Two coats gives full, even coverage; a third is rarely needed. Your gel color line is where the look comes from, so take your time here — gel stays wet until cured, which means no smudging while you work.
Step 5: Seal with top coat
Finish with a gel top coat and cure for the full recommended time. If your top coat leaves a tacky layer, wipe it with isopropyl alcohol; if it is a "no-wipe" formula, you are done as soon as it cures. The top coats and UV-cured top coats and sealers categories cover both.
Step 6: Cure every layer properly
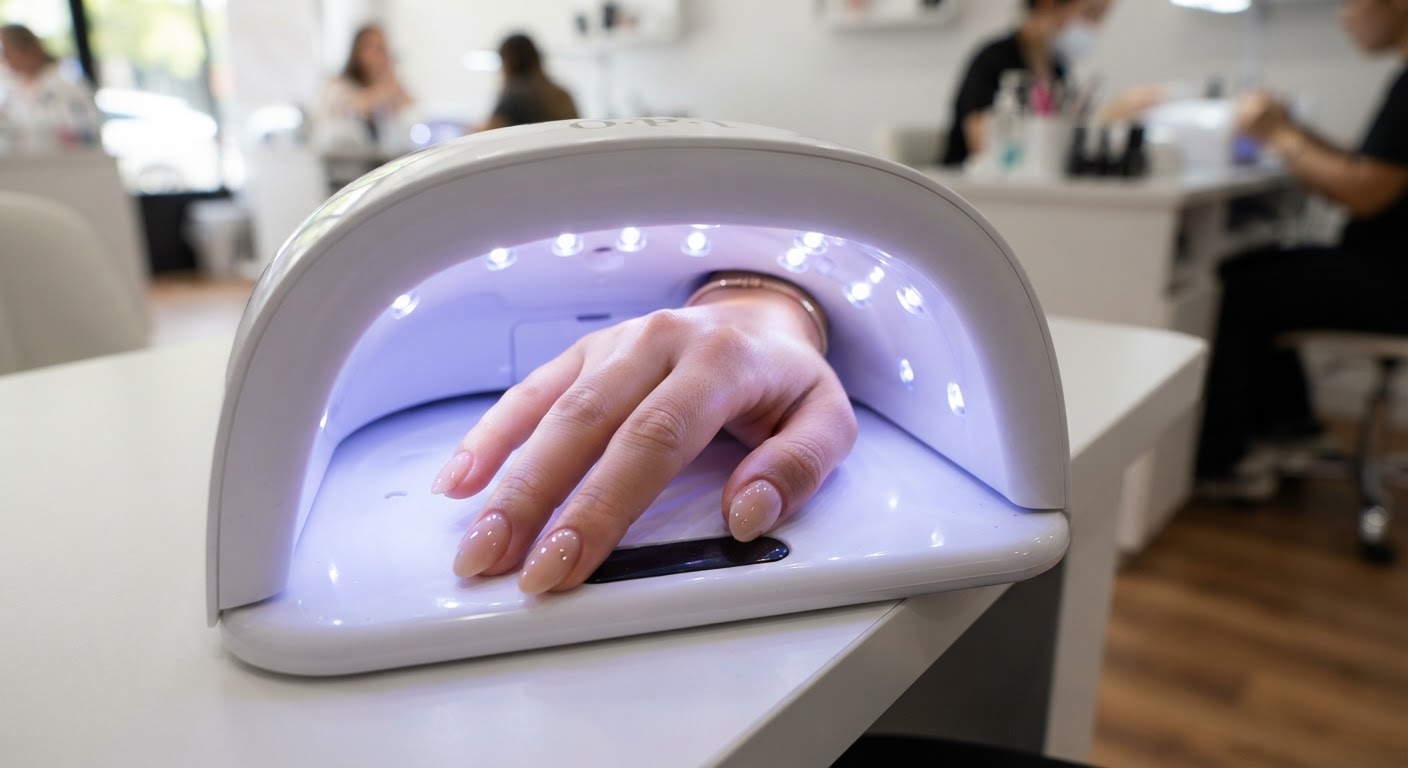
Never shorten a cure time. An under-cured layer lifts early and is also the main sensitization risk in gel (more on that in the safety section). Cure each layer for the full time, and keep the nail level in the lamp so the whole surface gets even light.
Step 7: Hydrate
Finish with cuticle oil worked into the skin around each nail. Daily oiling is the single biggest factor in how long a gel set lasts.
Watch: applying gel polish like a pro
For a salon-style demonstration from a professional educator, this walkthrough from Nail Career Education covers prep, thin coats, curing and finishing:
How long do gel nails last?
A well-applied gel manicure lasts two to four weeks. Three weeks is the sweet spot most people land in: long enough to get value out of the set, short enough that the regrowth at the cuticle has not become obvious. Salons typically recommend a redo at the three- to four-week mark.
What shortens that window, in rough order of impact:
- Skipping prep. Oil or moisture left on the plate shows up as cuticle lifting within a week.
- Flooding the cuticle. Gel that touches living skin creates a lifted edge as skin cells shed. Keep that small gap.
- Thick coats. Thick layers cure unevenly and peel at the edges. Thin coats, always.
- Hot water without gloves. Dishes and long hot showers make the nail expand and contract, fatiguing the seal.
- Using nails as tools. Opening cans, peeling labels, picking at things — all of it works against the bond.
- Skipping cuticle oil. Dry cuticles crack; hydrated ones flex. Oil twice a day.
How to remove gel nails safely
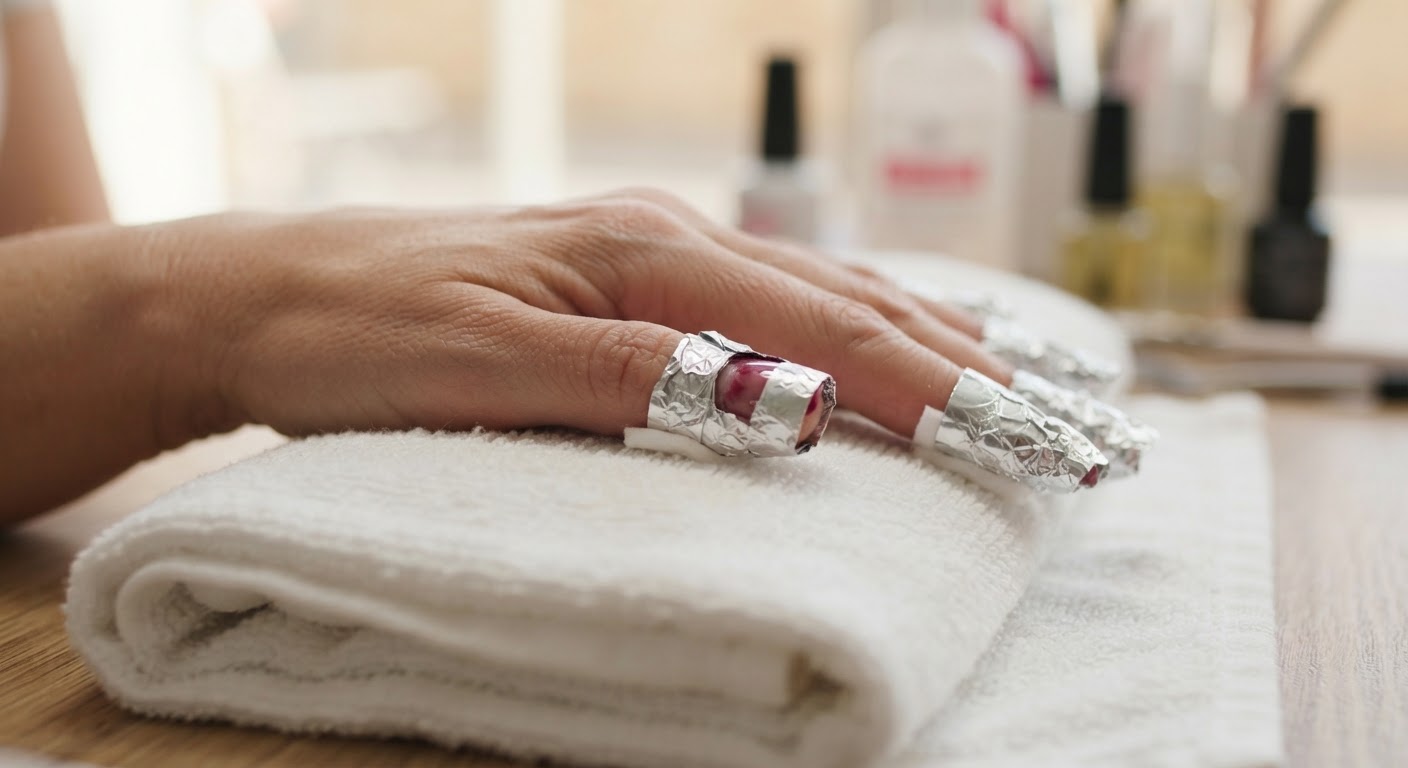
Gel polish does not damage nails; improper removal does. The common misconception — "gel ruined my nails" — is almost always the removal: peeling, prying or aggressively filing the gel off takes layers of natural nail with it. Proper removal is a soak, never a peel.
- Break the seal. Gently file or buff the top layer of gel until the shine is gone. The more you file off, the faster the acetone works.
- Soak. Soak cotton pads in 100% acetone, place them on each nail and wrap with foil (or use gel polish remover wraps). Leave for 5-15 minutes.
- Slide, do not scrape. Gently push the softened gel off with a wooden cuticle pusher. If it resists, re-soak for a few more minutes — never force it.
- Buff and oil. Smooth any residue with a buffer, then massage cuticle oil into the nails and skin. A bottle of 100% acetone remover is all you need; salons stock artificial nail removers for the job.
After a soak-off, give your nails a few days of treatments and strengtheners and cuticle oil before the next set, and skip re-booking if the plate feels thin.
Gel vs acrylic vs dip vs regular polish
| System | Wear | Look & feel | Removal | Best for |
|---|---|---|---|---|
| Gel polish | 2-4 weeks | Glossy, thin, flexible | Soak-off | Chip-free color on natural nails |
| Acrylic | 3-5 weeks | Hard, thick, rigid | Filing + soak | Length and heavy-duty strength |
| Dip powder | 2-4 weeks | Sturdy, slightly textured | Soak-off | Strength without a lamp |
| Regular polish | 3-7 days | Thin, flexible | Standard remover | Frequent color changes |
Gel vs acrylic is the most common question. Gel creates less dust and fewer fumes during application, is thinner and lighter, and soaks off completely. Acrylic is harder and can support more length, but it is heavier and removal involves filing. Neither is inherently "better" — as nail professionals put it, any system can damage nails without proper application and removal; the choice is more about preference and lifestyle.
When gel is not the right choice: if you want extreme length on very weak nails, a hard gel or acrylic overlay will hold up better than soft gel polish. If you change color every few days, regular polish is cheaper and faster. And if you cannot resist peeling at lifting edges, gel (which should be soaked, never peeled) will cost you more natural nail than regular polish would.
Advantages and drawbacks
Advantages
- Lasts 2-4 weeks with no chipping or smudging
- Cures instantly under a lamp — no waiting for nails to dry
- Thin, lightweight feel with a high-gloss finish
- Works with every design: chrome, cat-eye, French, nail art
- Soak-off removal when done properly
- Low odor and minimal dust compared with acrylic
Drawbacks
- Requires a UV/LED lamp and correct curing for reliable wear
- Removal done wrong (peeling, over-filing) can damage the natural nail
- UV exposure from the lamp, though modest, is worth managing
- Acrylate allergy (usually HEMA) is possible, mostly from uncured gel touching skin
- Costs more than regular polish and needs scheduled redo appointments
How much do gel nails cost?
At a salon
- A standard gel manicure typically runs $35-$70 across most of the US, with premium metro areas and added nail art taking it higher
- Soak-off removal is often $10-$20 extra, and many salons waive it when you rebook
Doing it at home
- A starter kit with polishes plus a lamp runs roughly $30-$100 and covers many sets
- After that, refills of gel color polish and top coat are a few dollars per bottle
If you get a gel manicure every three weeks, the DIY route pays for itself within two or three months — but only if you are disciplined about prep, curing and soak-off removal, because the equipment, not the polish, is what does the work.
Safety: UV lamps and HEMA
Two safety topics come up with every gel manicure, and both are manageable.
UV lamps. Gel cures under UV/LED light, and while the exact risk from manicure lamps is not fully established, dermatologists recommend simple precautions: apply a broad-spectrum SPF 30+ sunscreen to your hands about 15-30 minutes before curing (sunscreen takes that long to reach full strength), or wear UV-blocking gloves with the fingertips cut out. Using a lamp matched to your gel brand also improves curing consistency.
HEMA and allergies. Nail gel contains acrylate monomers; the most common allergen is HEMA (hydroxyethyl methacrylate). The risk comes almost entirely from uncured gel touching skin — the same reason keeping a gap around the cuticle and curing fully matters. If you experience itching, redness, blistering or eczema-like dryness on the fingertips, stop using the gel and switch to HEMA-free gel polish formulas, which are increasingly available from major brands.
6 gel nail designs to try
Gel's glossy, even surface is a canvas for every finish and pattern in the 2026 trend cycle. These six looks span the range — from barely-there neutrals to full chrome — and the nail color and polish category is where techs stock the color lines behind them.
1. Milky Nude
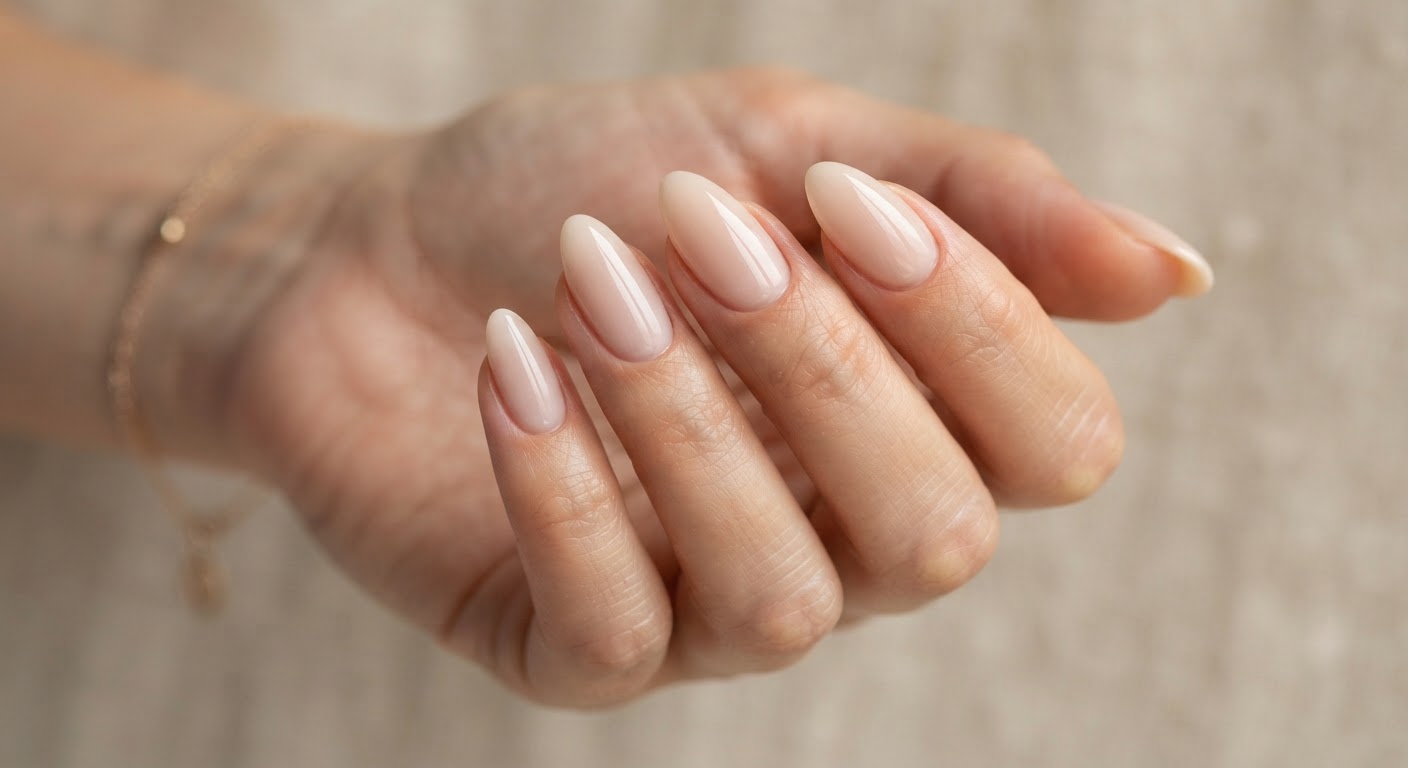
The clean-girl default and probably the most-requested gel manicure in the salon. A milky nude shade over almond or short square nails looks like very good, very even natural nails — no pattern required, just a flawless glossy top coat. It is the anchor of most cute nail looks for good reason.
| Polish | Shop |
|---|---|
| Milky nude gel | Shop nude gel polish |
| Milky white gel | Shop milky white gel |
| Glossy top coat | Shop gel top coat |
2. Glazed Donut
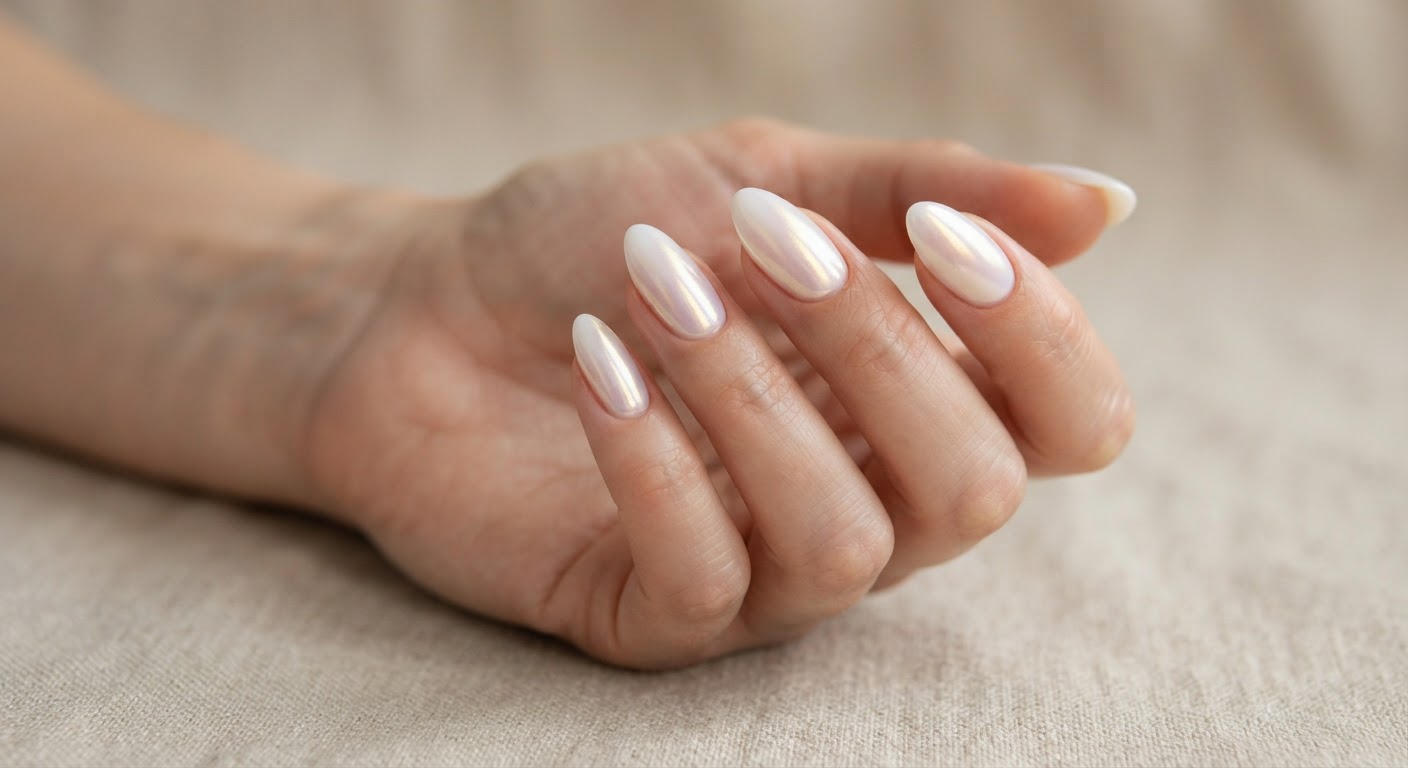
The viral "glazed" finish: a sheer milky base topped with a pearly, iridescent sheen that catches the light like frosted glass. It reads expensive with everything and is one of the easiest finishes to achieve in gel — a pearl or chrome powder rubbed over a cured milky base does most of the work.
| Polish | Shop |
|---|---|
| Milky white base gel | Shop milky white gel |
| Pearl chrome powder | Shop chrome nail powder |
| Glossy top coat | Shop gel top coat |
3. Glossy Black
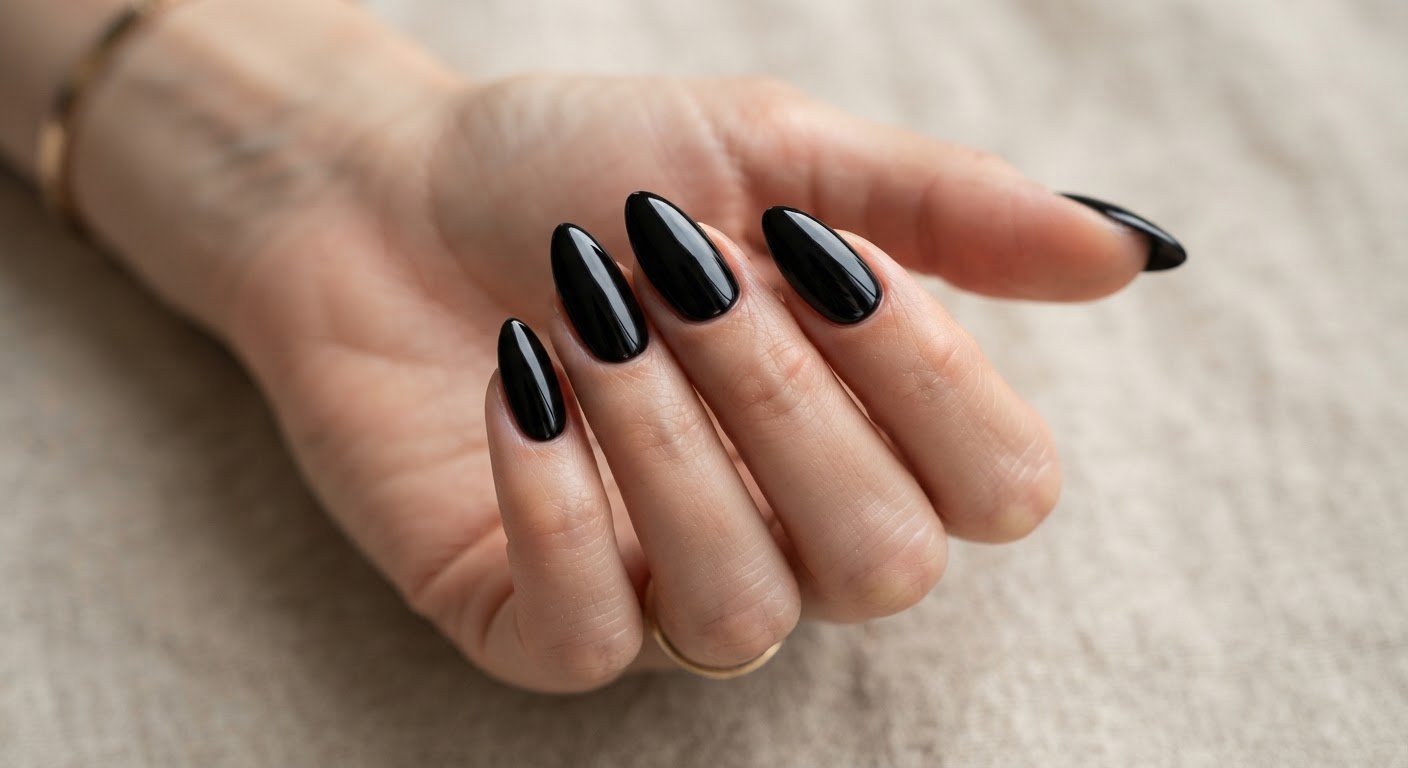
Black gel with a mirror-gloss top coat is the dramatic end of the spectrum: sleek, editorial and endlessly versatile. It works on every skin tone and pairs with gold jewelry as easily as it pairs with a costume for Halloween nails. Swap the glossy top coat for a matte one and the whole look changes character.
| Polish | Shop |
|---|---|
| Black gel | Shop black gel polish |
| Glossy top coat | Shop gel top coat |
| Matte top coat (optional) | Shop matte top coat |
4. Silver Chrome
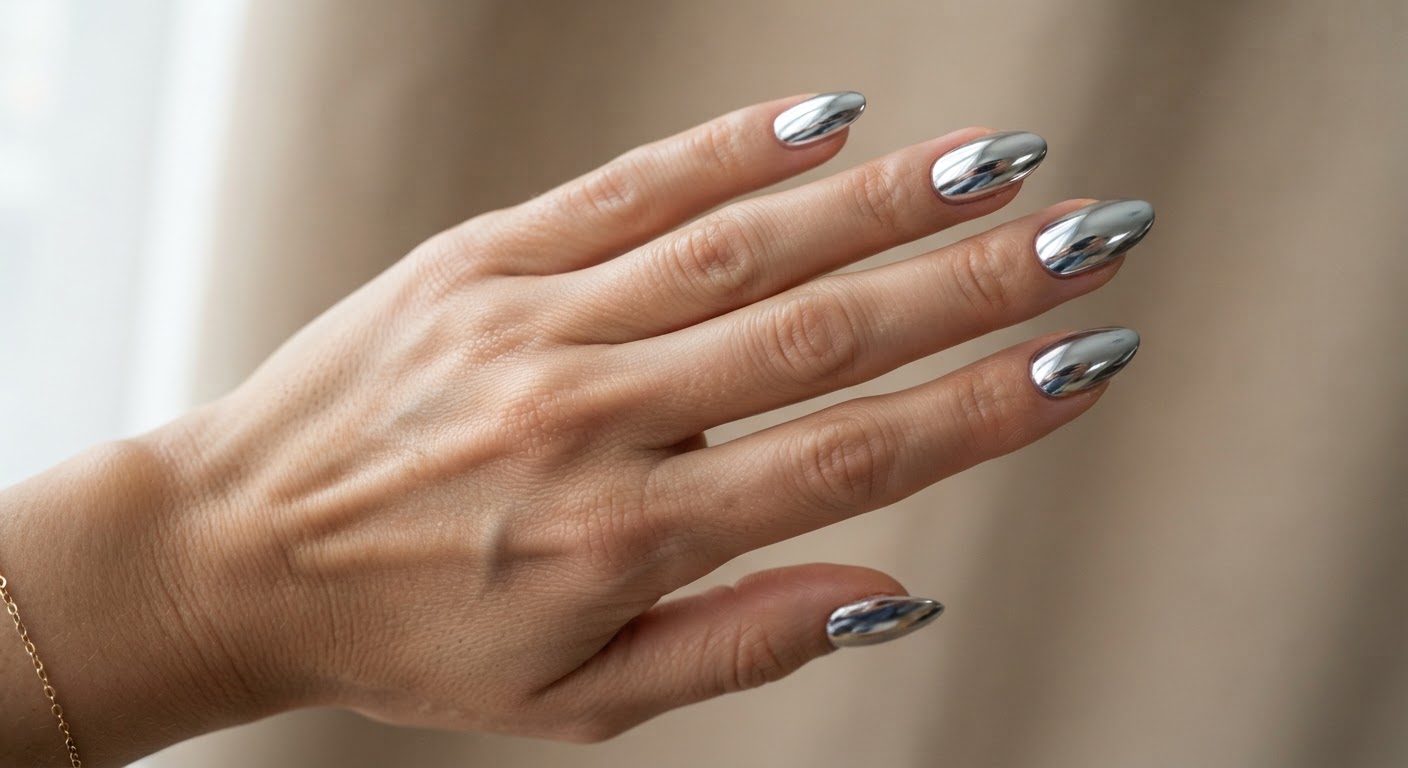
Chrome is the finish that made gel famous on social media: a fine metallic powder buffed over a cured base for a full mirror reflection. Silver is the classic; brown and champagne chrome are the 2026 updates that anchor our fall nail trends guide. It is a statement, so many people wear it as an accent nail first.
| Polish | Shop |
|---|---|
| Chrome nail powder | Shop chrome nail powder |
| Milky white base gel | Shop milky white gel |
| Glossy top coat | Shop gel top coat |
5. Pastel Aura
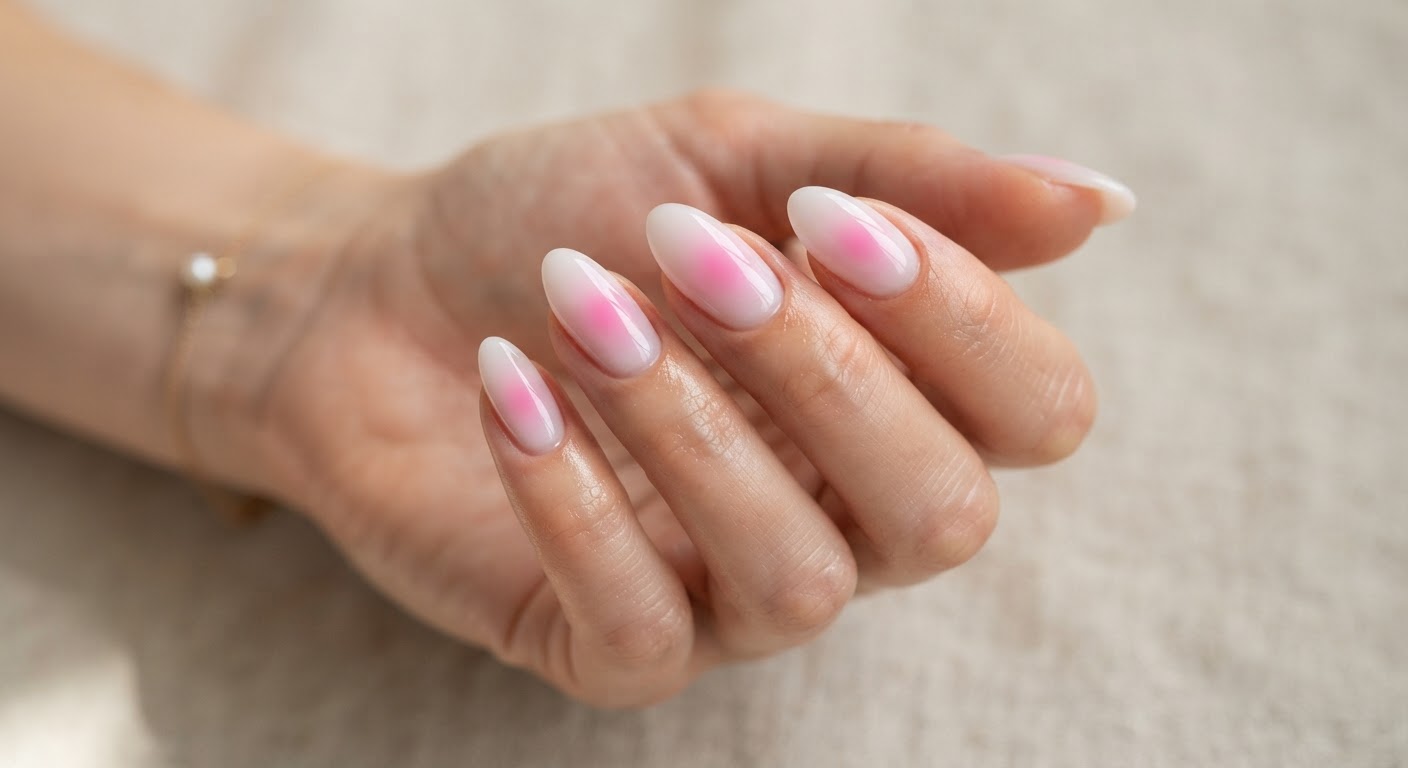
Aura nails are the softest of the trending effects: a glow of color that radiates from the center of each nail and fades into a sheer or white base. In gel it is done by building the center color in layers or with an airbrush, then sealing with a glossy top coat. The effect is dreamy, dimensional and flattering on short nails.
| Polish | Shop |
|---|---|
| Sheer white base gel | Shop white gel polish |
| Blush pink gel | Shop pink gel polish |
| Glossy top coat | Shop gel top coat |
6. Velvet Cat Eye
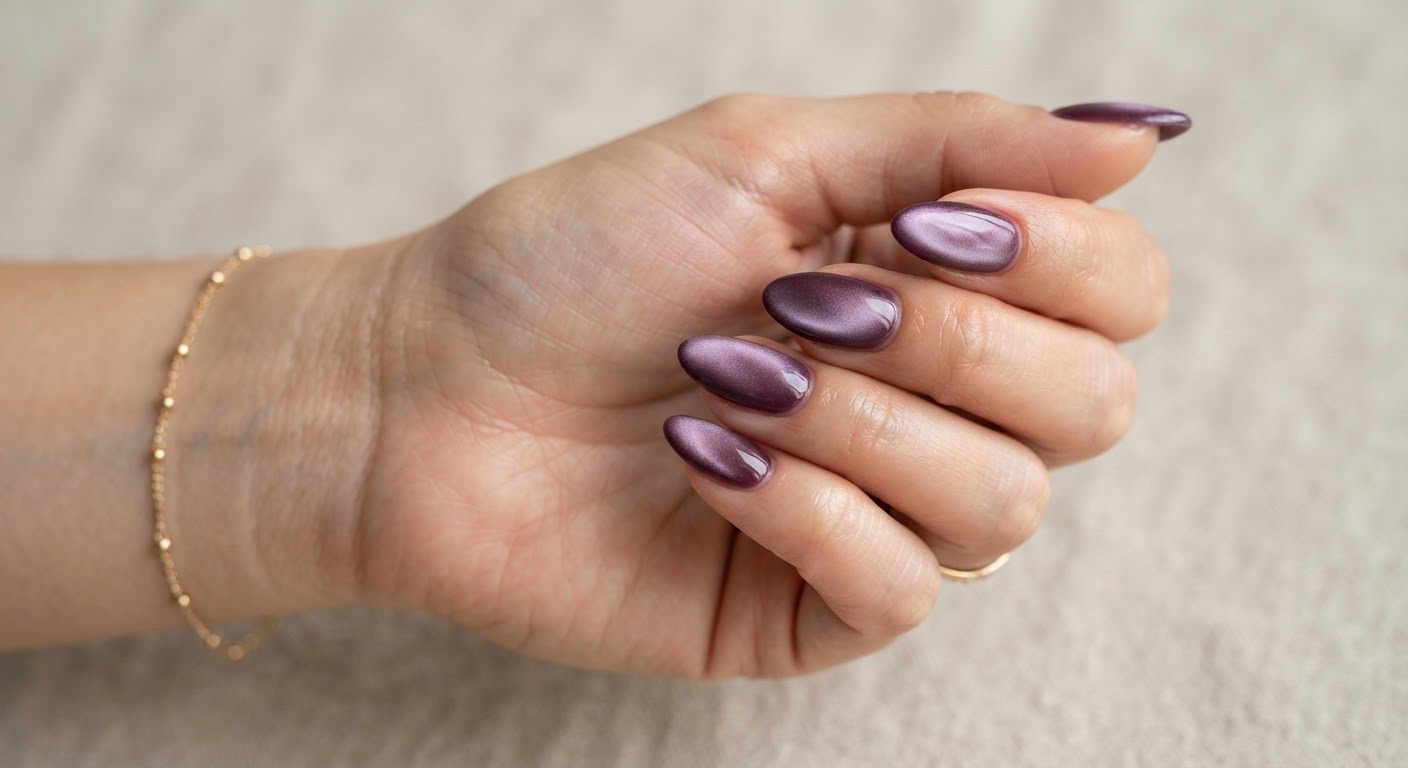
Magnetic gel polish with a velvet finish — the magnet moved in a slow circle so the metallic particles scatter into a plush, fabric-like shimmer — is the moodiest look in the gel repertoire. In a deep plum or burgundy it is the grown-up version of the trend and a defining color of the season. The full technique and more patterns live in our cat eye nails guide.
| Polish | Shop |
|---|---|
| Magnetic cat-eye gel | Shop magnetic gel polish |
| Plum gel | Shop plum gel polish |
| Glossy top coat | Shop gel top coat |
Frequently asked questions about gel nails
How long do gel nails last?
Two to four weeks with proper prep, with three weeks the common sweet spot. Daily cuticle oil and thin coats are the two habits that push a set toward the longer end.
Are gel nails bad for your natural nails?
Applied and removed correctly, no — gel is generally gentler on the plate than acrylic because it needs less filing. Damage almost always comes from the removal: peeling or prying the gel off, or over-filing during prep. Soak-off is the only removal method.
Can I do gel nails at home?
Yes. The two non-negotiables are a lamp rated for your gel and disciplined prep. Beginners fail on thick coats and under-curing, not on the products themselves.
Do I need a UV or LED lamp for gel polish?
Yes. Gel polish does not dry — it cures. Without a lamp the polish stays wet, and no amount of waiting will harden it.
Can I use regular polish with a gel top coat?
Yes, and it is a popular hybrid — a regular color with a gel top coat for extra shine and chip resistance. Just remember the gel top coat must be cured under a lamp and soaked off with acetone, not peeled.
Why does my gel peel off early?
The usual culprits, in order: skipped prep (oily plate), gel touching the cuticle, thick coats, and hot water without gloves. Fix those four and most sets reach three weeks.
Can I shower or do dishes with gel nails?
Yes — the polish is fully cured and waterproof. Wear gloves for long hot-water exposure (dishes, baths, hot tubs) because heat and moisture stress the bond over time.
How often should I get a gel manicure redone?
Every three to four weeks, when regrowth at the cuticle becomes visible. Letting a set go past four weeks raises the odds of the gel lifting and catching on things.
For nail techs and salon owners: offering gel
Gel is the highest-volume service most salons run, and a well-stocked gel menu is simple to build:
- Carry at least one soak-off color gel line plus a base coat and top coat from the same brand
- Invest in manicure lamps rated for the gels you stock — under-curing is the most common source of service breakdowns
- Keep nail prep products, nail files and buffers on hand, and train techs on gentle prep and soak-off removal
- Offer HEMA-free options for sensitized clients and add nail art supplies to upsell chrome, cat-eye and French designs
- For extensions, stock a soft gel tip line or builder gel in addition to polish
Professional gel systems in the directory worth knowing: Light Elegance (UV gels, lamps and builder gels), Akzentz (pro gel brands and education), the Nailuv gel polish line with its matching lamps, and Star Nail's soak-off gel master kit as a pro starter option. If you are considering soft gel extensions for your menu, the Aprés Gel-X starter kit is the system that created the category.
Salons and independent techs can also get found by clients searching for gel manicures — add or update your listing so local searchers can find you.
Keep browsing nail guides
Ready to book or build a kit? Head back to the nail blog for more technique and inspiration guides — French tip nails, gel X extensions, cat eye nails and seasonal roundups like fall nails — or browse the full directory to find the gels, lamps and supplies behind the sets you love.
As an Amazon Associate, Nails Industry Directory earns from qualifying purchases.