
Builder Gel Nails: How to Apply, Wear and Remove Them
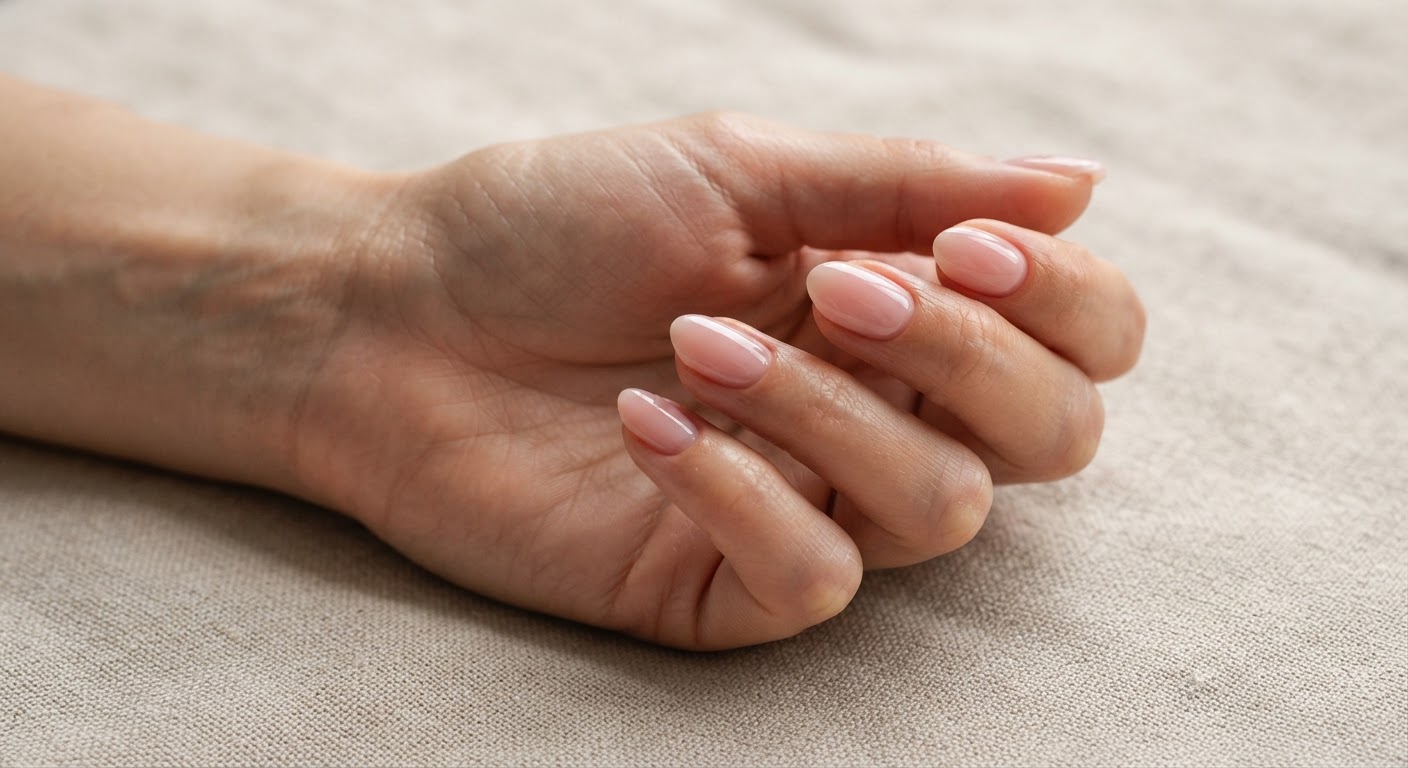
Builder gel is the product behind most of those short, glossy, suspiciously unbroken manicures. It is a thicker gel brushed over the natural nail and cured under a lamp, and its job is structure rather than color: it gives a thin or bendy nail a stronger shape so the length you already have can survive.
It is also easy to do badly. A builder gel overlay that is flat, flooded at the cuticle or under-cured lifts within days, and the reasons are nearly always in the technique. This guide covers what builder gel is, how to apply it step by step, how long it lasts, how to take it off without damaging the nail, and when another system is the better choice.
What is builder gel?
Builder gel is a viscous UV/LED-cured gel used to add strength and thickness to natural nails, or to create short extensions. Where regular gel polish is a thin color coat that follows the shape of your nail, builder gel is thick enough to change that shape. A technician can use it to even out a dip in the nail plate, support a weak free edge and build a small arch that takes the stress of everyday knocks.
You will see it sold in two main formats:
- Bottle with a brush. Usually called "builder in a bottle" or BIAB. The term is closely tied to The Gel Bottle Inc's Builder in a Bottle product, but it is now used loosely for soak-off builder gels in a bottle.
- Pot or jar. Thicker formulas applied with a separate gel brush, more common for sculpting and professional work.
Builder gel is not one single chemistry
The labels in this category are not standardized, which causes most of the confusion online. "Builder gel" can describe a soft soak-off product, a firmer semi-hard one, or a hard gel that has to be filed off. Before you buy or book, check two things on the label: whether the product soaks off, and which lamp it is designed to cure under.
How builder gel works
Like all UV/LED gels, builder gel is a liquid until light triggers a chemical reaction that links its molecules into a solid. Two practical facts follow from that:
- Thickness and curing are linked. Light has to reach through the product, and thick layers also release more heat as they harden. That is why a layer that is too thick can feel hot on the nail or stay soft underneath.
- Many gels leave a tacky surface after curing. This inhibition layer is normal. It helps the next layer bond and is wiped away at the end with a gel cleanser.
The apex: what makes it builder gel
The apex is the highest point of the overlay, and it is the difference between a structured manicure and thick gel polish. It sits around the middle of the nail, just behind the stress point where the nail leaves the finger and tends to bend or snap. The product should be thin at the cuticle, thin at the sidewalls and thin at the free edge, with a gentle rise in between.
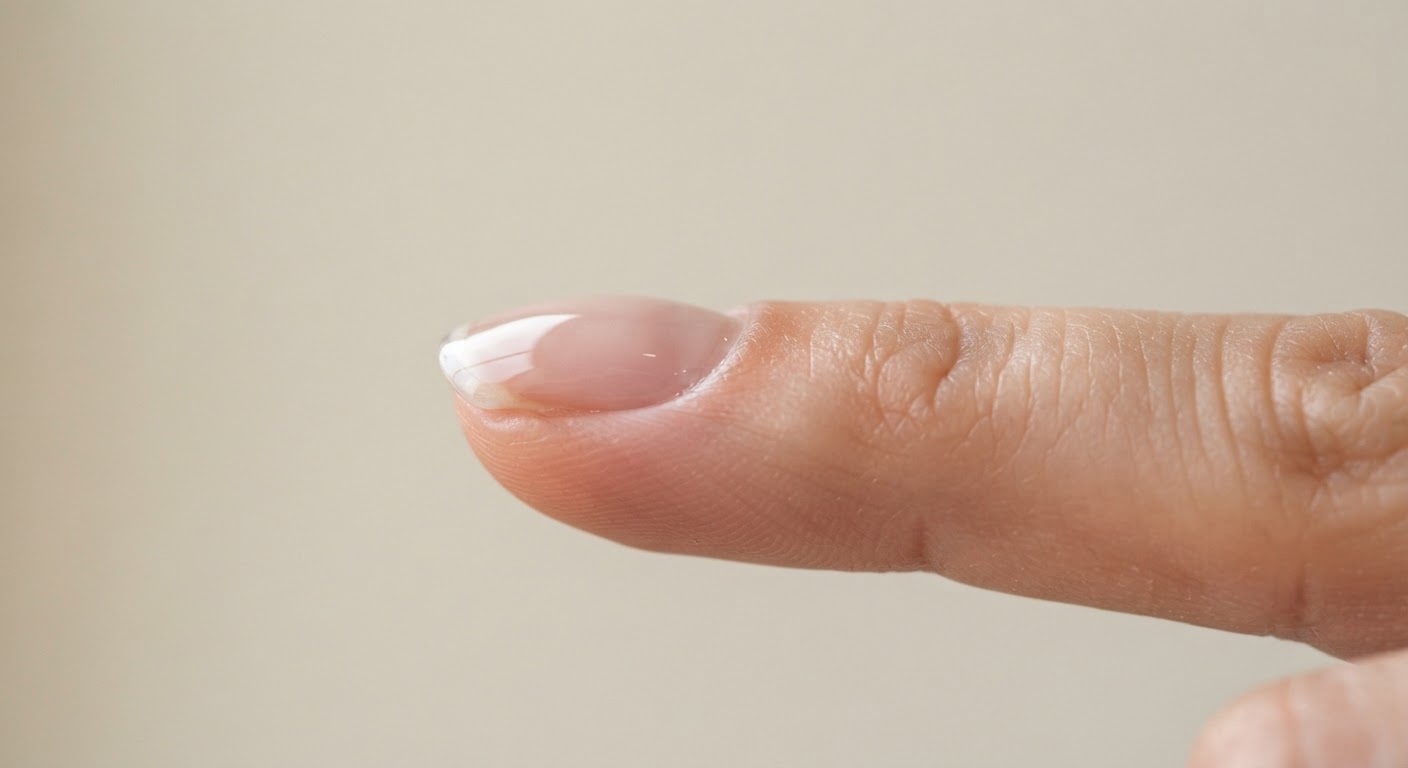
Viewed from the side, a good overlay looks like a soft, shallow curve. Viewed from the front, it should look natural rather than bulky.
What you need
- A builder gel, plus the base or bonder your system calls for. Pro lines such as NSI Balance Builder in a Bottle sit alongside at-home options like this clear builder gel from Beetles, which is sold as HEMA- and TPO-free. Those claims come from the sellers, we have not tested either product, and you should check whether the one you buy needs a separate base gel.
- A UV/LED lamp. Ideally, use the one your gel's manufacturer specifies (more on why below). General-purpose lamps such as the SUNUV SUNone are popular at home, but check the gel's instructions first.
- A cuticle pusher, a 180-grit file or buffer, and a soft buffer block
- A nail dehydrator or cleanser, and lint-free wipes
- A small gel or liner brush for tidying
- Top coat and any gel color you plan to use
- Pure acetone for removal and cuticle oil for daily care
If you are comparing professional systems, the gels and UV systems category lists suppliers in the directory.
How to apply builder gel, step by step
Always follow your own product's instructions where they differ from these general steps, especially for cure times and whether a base is required.
1. Prep the natural nail
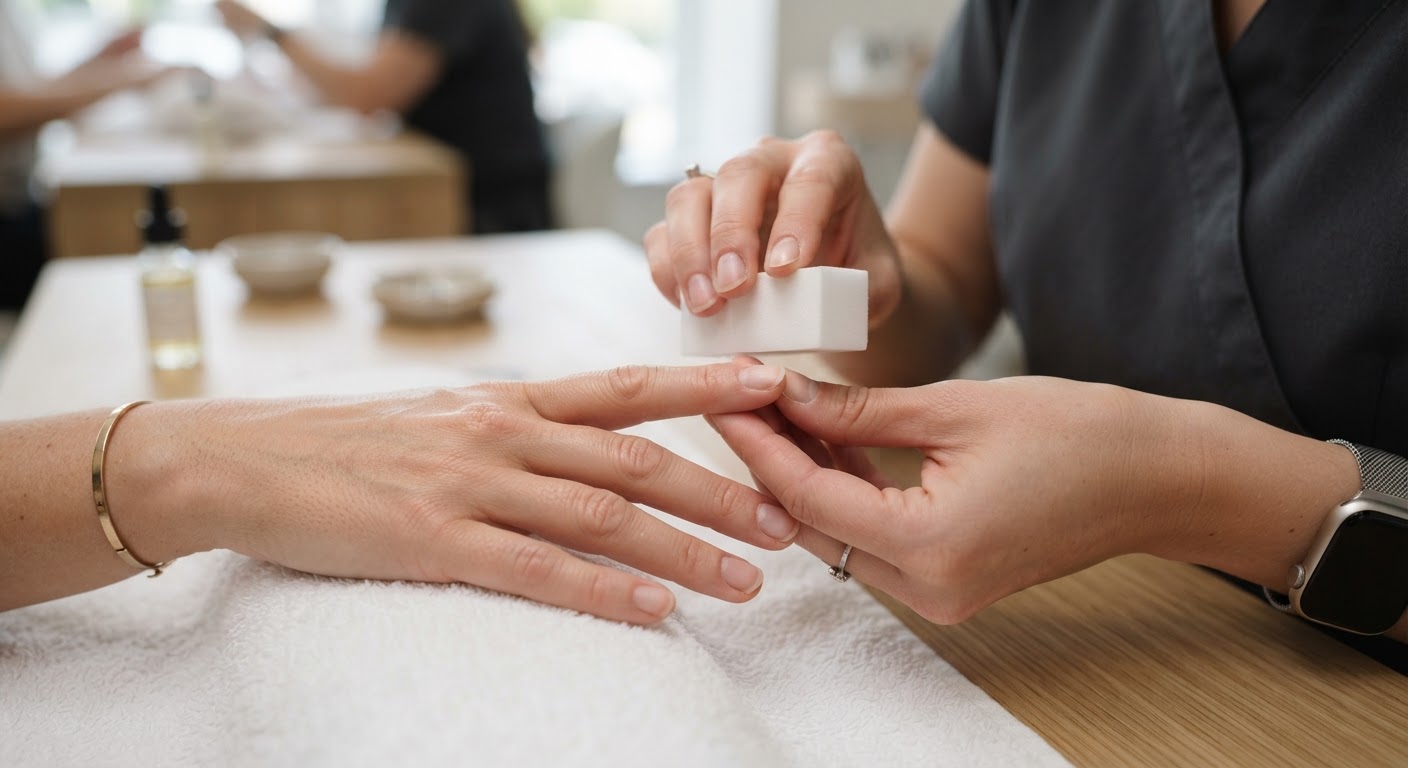
Push back the cuticle and remove only the non-living tissue stuck to the plate. Lightly buff to remove shine, then clear away the dust and wipe with a dehydrator. Do not over-file: you only need to take off the shine, and thinning the plate defeats the purpose of a strengthening service. Prep is the most common failure point, because any oil or dust left behind can cause lifting.
2. Apply a thin first layer
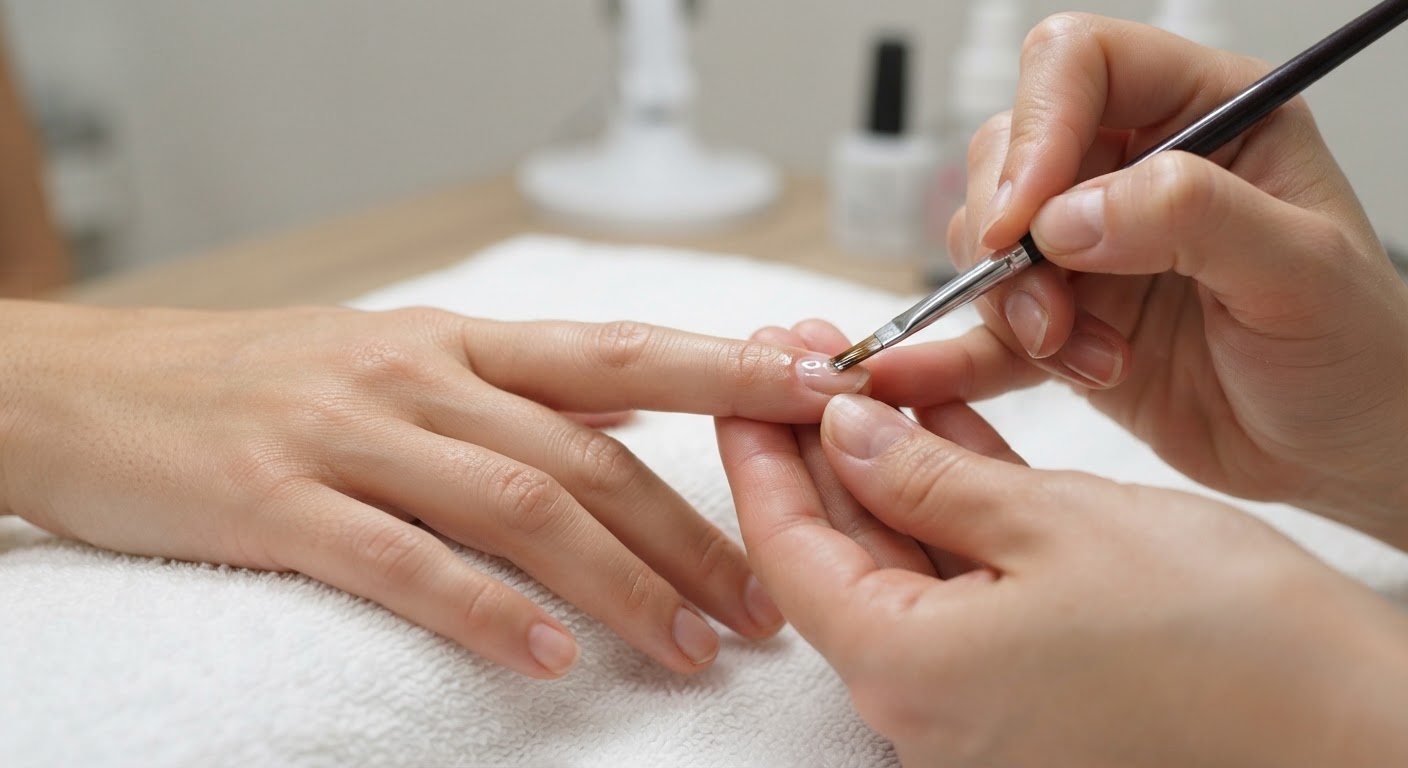
Apply a very thin, even coat over the nail plate and cap the free edge, keeping it off the cuticle and sidewalls. If your system uses a separate base or bonder, it goes on first.
Systems differ on what happens next, which is why tutorials seem to contradict each other. Some, including OPI's GELevate method, cure this thin layer before building. Others leave it uncured as a "slip layer" so the next bead floats across it more easily. Either can work, so use the method designed for your gel.
3. Place the bead and build the apex
Pick up a slightly larger bead and place it just behind the middle of the nail. Nudge it toward the cuticle and sidewalls without touching skin, then draw it forward with light pressure, thinning it out toward the free edge. Heavy brush strokes can trap air bubbles, so keep your touch light and work one nail at a time until you are confident.
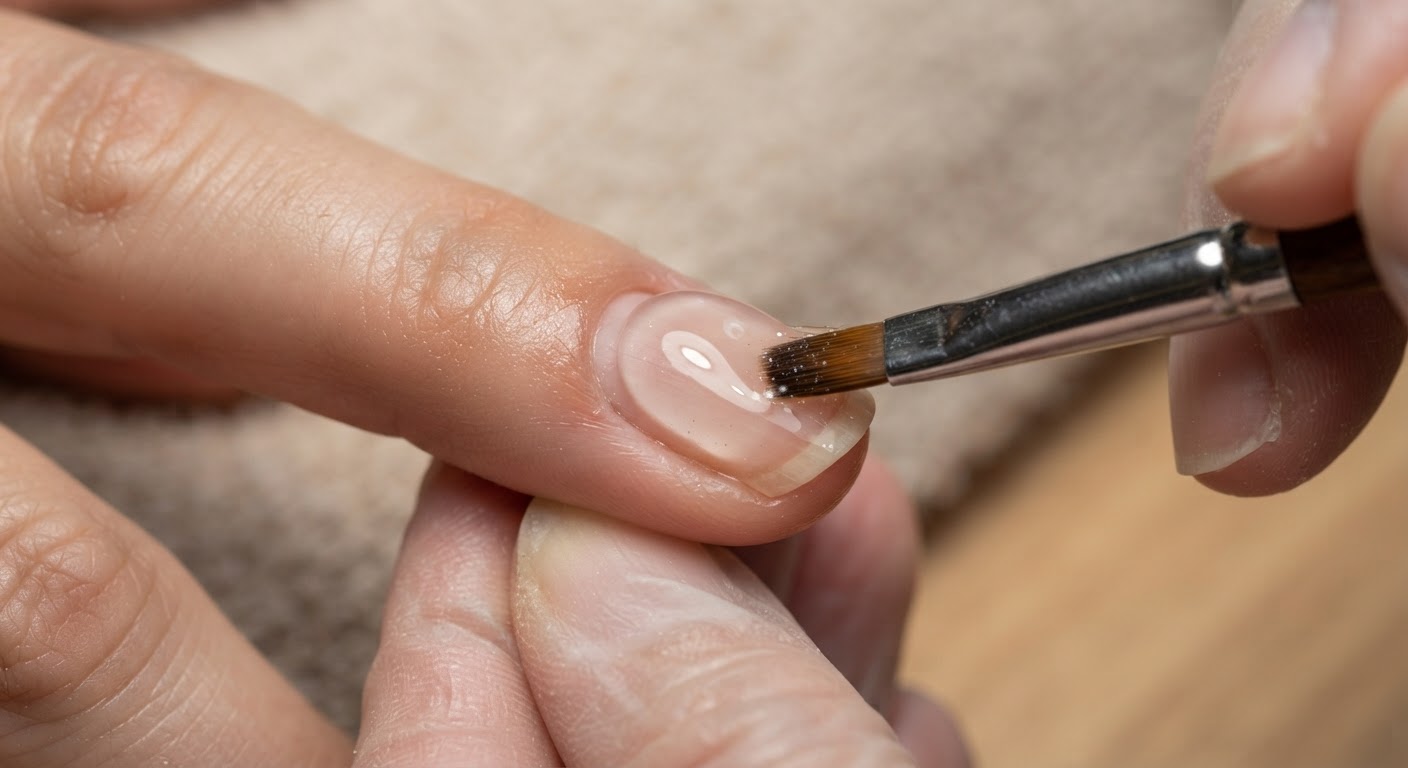
4. Check the profile and let it settle
Look at the nail from the side and from the end. If the surface looks lumpy, turn the hand upside down for a few seconds so gravity draws the gel toward the center of the nail, then flip it back. Clean up anything touching the skin with a liner brush before you cure, because cured gel on skin is a direct route to lifting and irritation.
5. Cure
Cure for the time on the label. As a general guide, builder layers often need 30 to 60 seconds under LED or about 2 minutes under a UV-only lamp. Cure thumbs on their own so the gel does not pool to one side.
If the client feels burning, that is a heat spike, usually caused by a layer that is too thick or a lamp that does not suit the gel. Do not push through it. Build in thinner layers next time, and use a low-heat setting if your lamp has one.
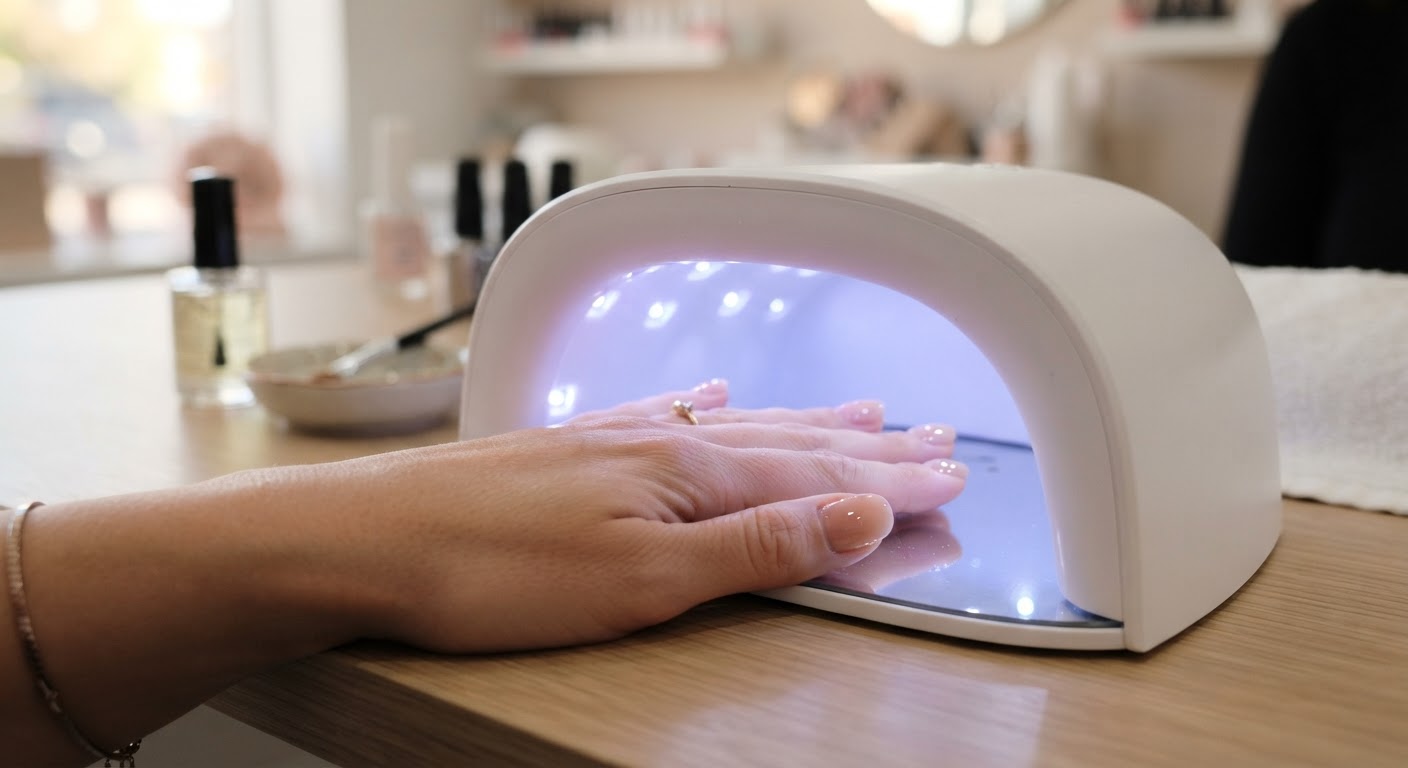
6. Wipe and refine
Remove the tacky layer with a gel cleanser if your product leaves one. Refine the surface and free edge with a medium-grit file if needed, then remove the dust.
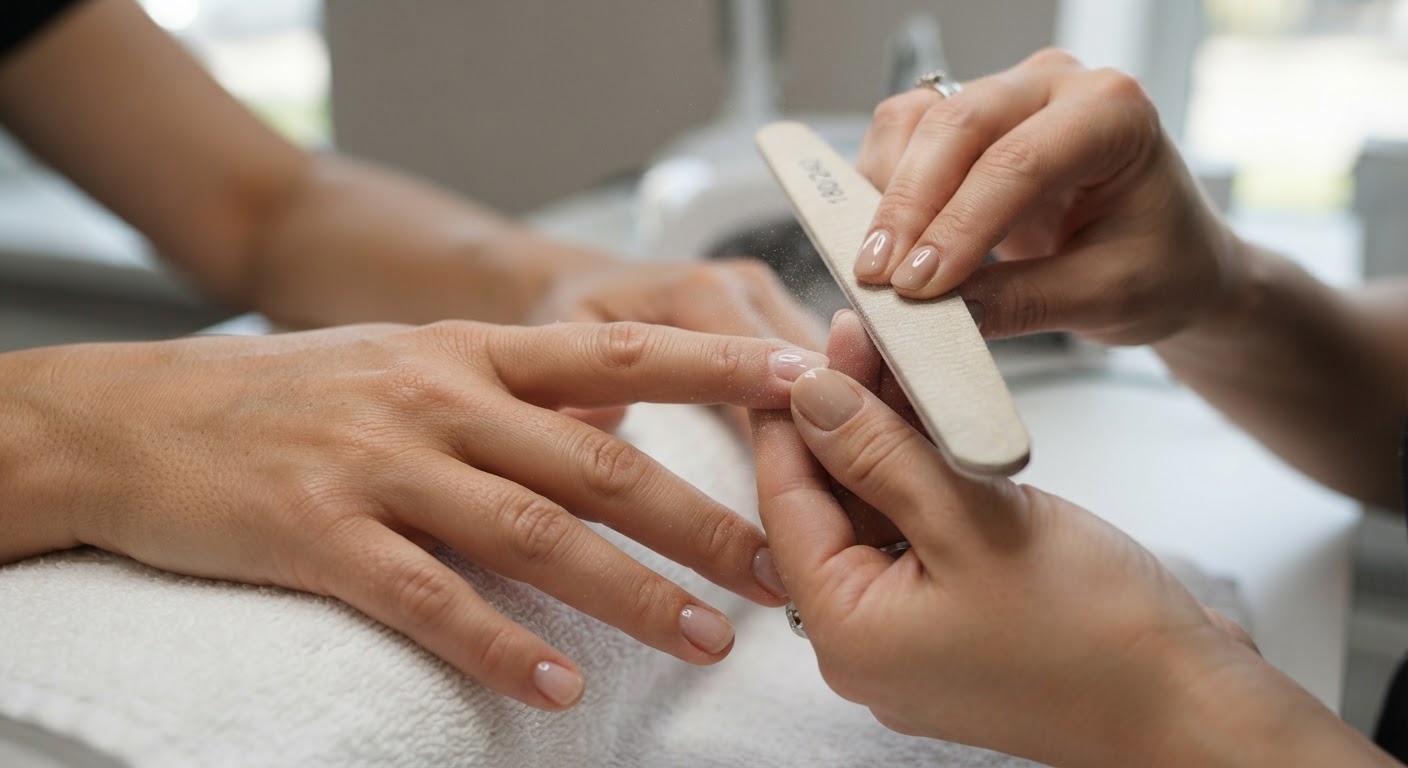
7. Add color and finish
Apply gel color if you want it, then top coat, curing each step. Finish with cuticle oil around the nail once the service is complete.
Watch it done
This tutorial from Lucky Nail Supply covers builder gel on natural nails for beginners and professionals:
Why builder gel fails: quick troubleshooting
| Problem | Likely cause | Fix |
|---|---|---|
| Lifting within a week | Oil or dust left on the plate; skipped dehydrator | Re-prep carefully, remove all dust and don't touch the nail after dehydrating |
| Lifting along the sidewalls or cuticle | Gel touched the skin before curing | Keep a small margin and clean up with a liner brush before curing |
| Gel floods the cuticle | Too much product placed too close; formula too runny | Place the bead further forward and guide it back; try a thicker formula |
| Flat nail with no arch | Too little gel, or spread too evenly | Use a larger bead and check the side profile before curing |
| Burning in the lamp | Layer too thick or lamp unsuited to the gel | Build thinner layers and use the recommended lamp |
| Soft or dented overlay | Under-curing or an aging lamp | Follow cure times exactly and check the lamp's condition |
| Bubbles in the finish | Heavy or fast brush strokes | Use lighter strokes and let the gel self-level |
How long do builder gel nails last?
Most people get three to four weeks from a well-applied set, and some reach for a fill or a fresh set at around two. Nail growth is usually what ends the manicure: the gap at the cuticle shows and the apex moves forward as the nail grows, which shifts weight toward the tip and raises the chance of a break.
To get the full three to four weeks:
- Apply cuticle oil every day
- Wear gloves for dishes and cleaning
- Do not use your nails as tools
- Book the infill before the growth gets long, rather than after a break
Infills
One of builder gel's biggest advantages is that it can be infilled rather than removed at every appointment. The technician files away the top coat and color, thins the existing gel, preps the regrowth, then applies a new layer and rebuilds the apex in its correct position. Done well, this is gentler than a full soak-off every visit, and it usually fits a three-to-four-week cycle. If the set has lifted in several places, a full removal is the better choice, since gel should not be built over a lifting area.
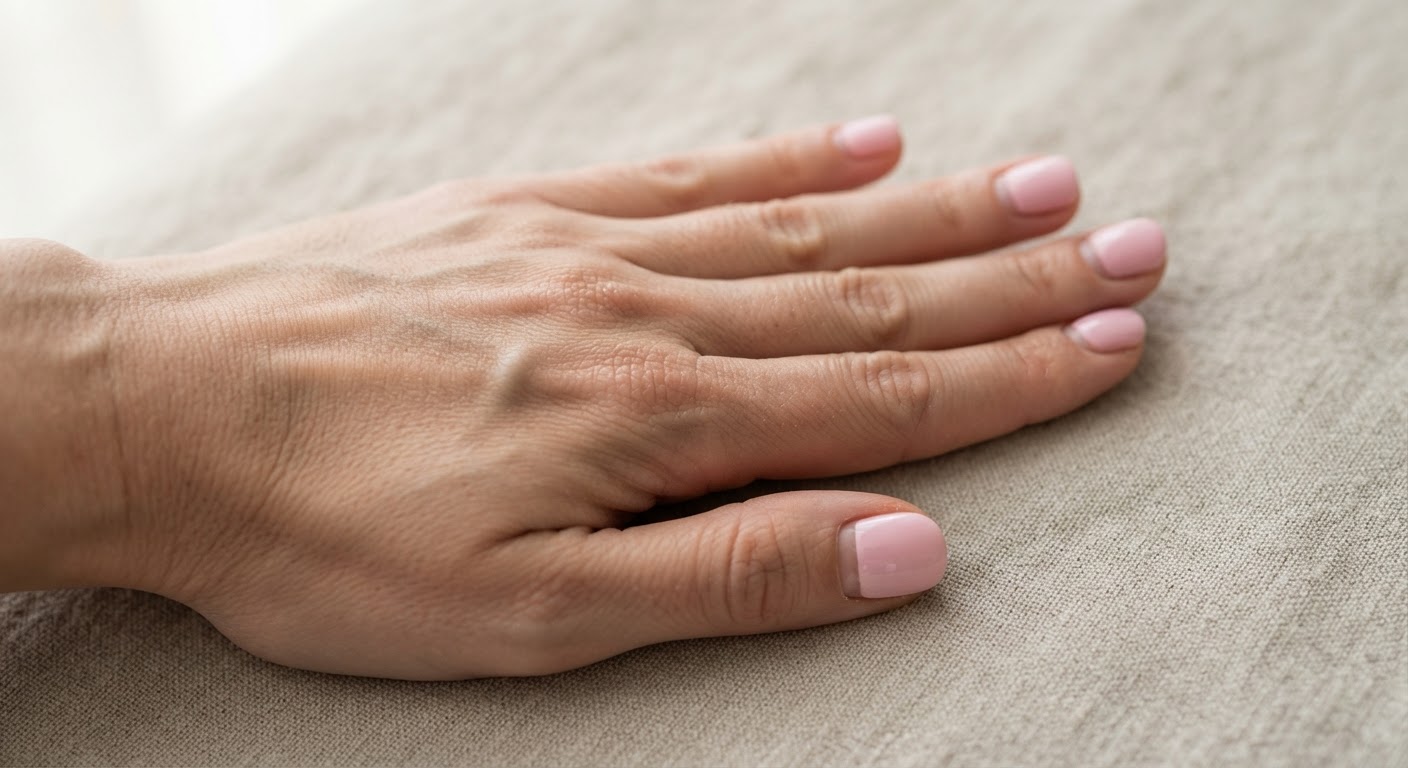
How to remove builder gel safely
Most damage blamed on builder gel happens at removal. Never peel, pick or pry it off, because the gel takes layers of natural nail with it.
For soak-off formulas:
- File off the top coat and most of the bulk to break the seal, stopping before you reach the natural nail.
- Protect the surrounding skin with cuticle oil or a barrier cream.
- Soak lint-free pads in pure acetone, place them on each nail and wrap with foil.
- Wait 10 to 20 minutes, depending on the product.
- Gently push away what has softened with a wooden stick. If it resists, re-wrap for a few more minutes rather than scraping.
- Buff lightly and apply cuticle oil.
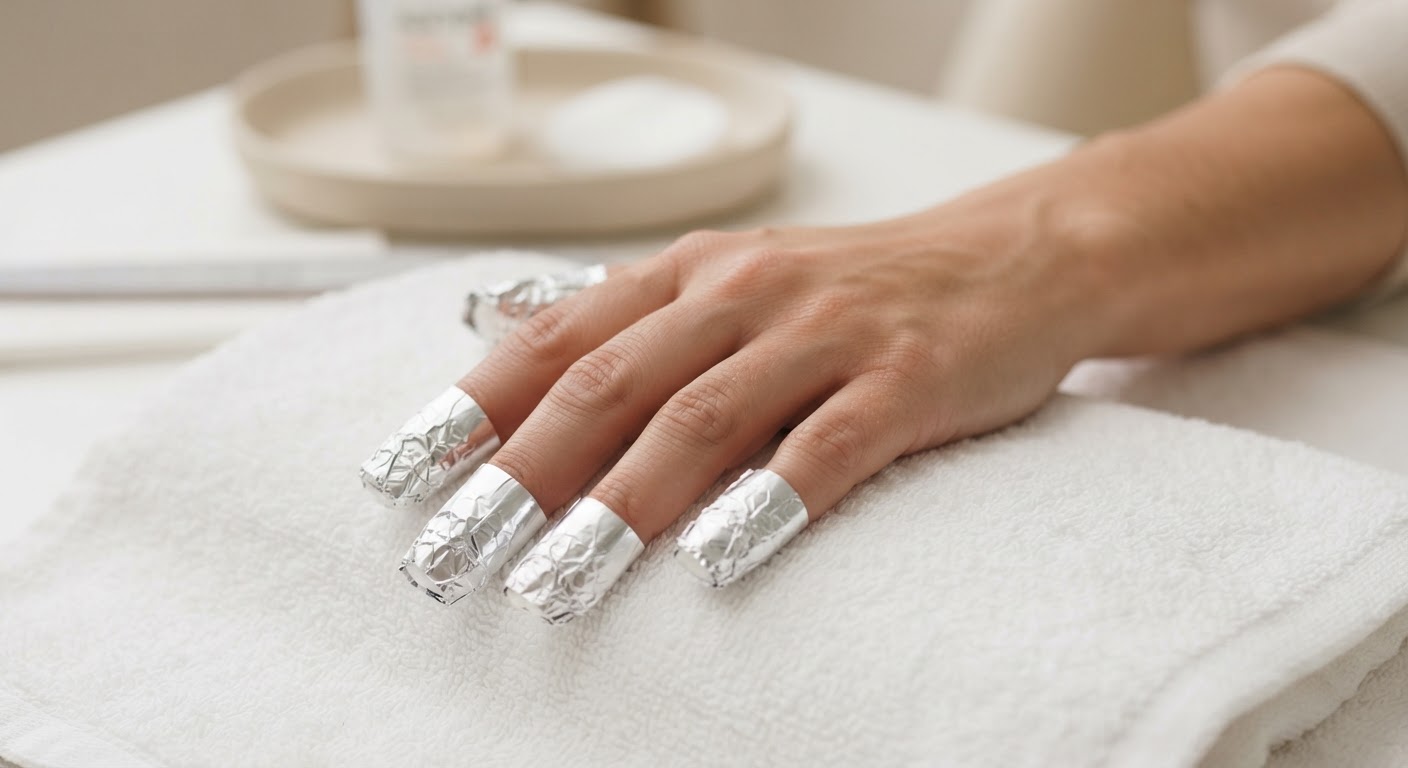
Hard gel does not soak off and must be filed away, and some thicker or semi-hard builders need more filing than a standard soak-off. If you do not know which you have, or you have a set applied at a salon, it is worth going back for professional removal.
Builder gel vs other nail systems
| System | What it is | Best for | Removal |
|---|---|---|---|
| Builder gel | Thick gel brushed on, cured with UV/LED | Strengthening natural nails, short extensions | Usually soak-off; check label |
| Gel polish | Thin color coat | Color on nails that are already strong | Soak-off |
| Hard gel | Dense, rigid gel, no soak-off | Long sculpted extensions | Filed off |
| Polygel | Acrylic-gel hybrid shaped before curing | Sculpted extensions | Usually filed, depends on formula |
| Gel X and soft gel tips | Pre-shaped soft gel tips bonded to the nail | Instant length, full coverage | Soak-off |
| Acrylic | Liquid and powder that hardens in air | Maximum strength and length | Filing and soaking |
The short version: builder gel is usually more flexible than acrylic but not as strong, which suits natural nails and modest length. If you want long extensions, look at hard gel, soft gel tips or acrylic instead.
Builder gel vs rubber base. Rubber base is generally thinner and is used mainly as a flexible base coat with light reinforcement. Builder gel has more body and can build real structure. Some products are sold as both, so the viscosity and instructions tell you more than the name.
Is builder gel right for you?
It is usually a good fit if your nails bend, peel or break before they reach the length you want, you prefer a natural look, and you can keep up with infills every few weeks.
It is probably not the right choice if you want long extensions, you already react to gel products, or you have an active nail infection, broken skin or an undiagnosed nail problem. In those last cases, speak to a doctor or dermatologist first.
A note on "nail repair": builder gel protects weak nails while they grow, but it does not heal them. The nail that grows out is only as healthy as your body and your removal habits allow, and repeated over-filing can leave nails thinner than when you started.
Safety: allergies, curing and lamps
Read this part before trying builder gel at home.
Allergy is a real risk. The British Association of Dermatologists has warned about contact allergy to (meth)acrylates, the key ingredients in gel and acrylic nails. Its concern is greatest with home kits, where inexperience and insufficient curing can raise the risk. Sensitization is lifelong and can have wider consequences, because similar chemicals are used in white dental fillings, bone cement and some diabetes devices.
To lower the risk:
- Keep uncured gel off the skin
- Use the lamp recommended for your gel. The BAD specifically advises against using a kit's lamp with polishes bought separately, because the product may not cure fully
- Follow cure times exactly and avoid thick layers
- If you are a technician, wear nitrile gloves and change them regularly. The BAD notes that latex and vinyl gloves provide no protection from these chemicals
- Stop and get medical advice if you notice itching, redness, blistering or swelling around the nails
"HEMA-free" is not "allergen-free." HEMA is a common sensitizer in gel, and HEMA-free builders can be a sensible option. They still contain other acrylates, though, so they are not a guaranteed solution for anyone who is already allergic.
UV lamps. A 2023 laboratory study in Nature Communications found DNA damage in human and mouse cells exposed to a UV nail dryer. It was a cell study and does not prove that manicure lamps cause skin cancer in people. If you want to reduce exposure, the American Academy of Dermatology suggests sunscreen on the hands or dark, opaque gloves with the fingertips cut off.
What builder gel nails cost
Prices vary widely by city and technician, so treat these as rough US ranges drawn from 2026 supplier pricing guides:
| Service | Typical price |
|---|---|
| Builder gel overlay on natural nails | $45 to $65+ |
| Overlay with gel color | $55 to $75+ |
| Infill or rebalance | $35 to $55+, though some salons charge about the same as a full set |
| Sculpted or extended sets | $85 to $120+ in premium salons |
A salon infill can cost as much as a new set because it can take just as long. If a quote seems high, ask what is included: removal, color and nail art are often priced separately.
Builder gel looks to try
Because builder gel handles the structure, the color on top can stay simple. These five looks suit it particularly well. Each table lists color and finish searches rather than specific recommended brands.
Milky white
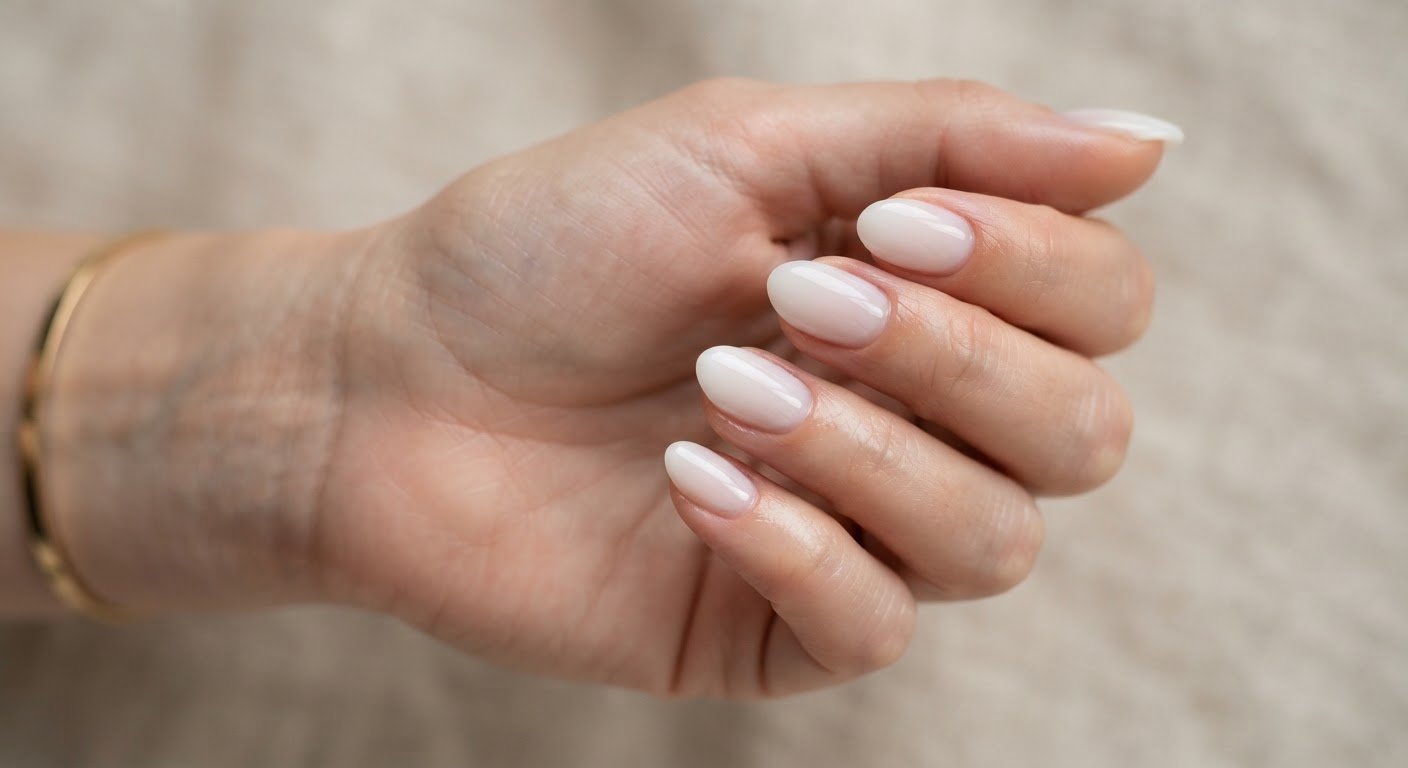
A translucent white builder gel gives a clean, soft finish in a single product, and it is forgiving on regrowth. On a short almond shape, it looks polished without looking done.
| Polish | Shop |
|---|---|
| Clear builder gel base | Shop clear builder gel |
| Milky white builder gel | Shop milky white builder gel |
| Glossy top coat | Shop gel top coat |
Baby boomer fade
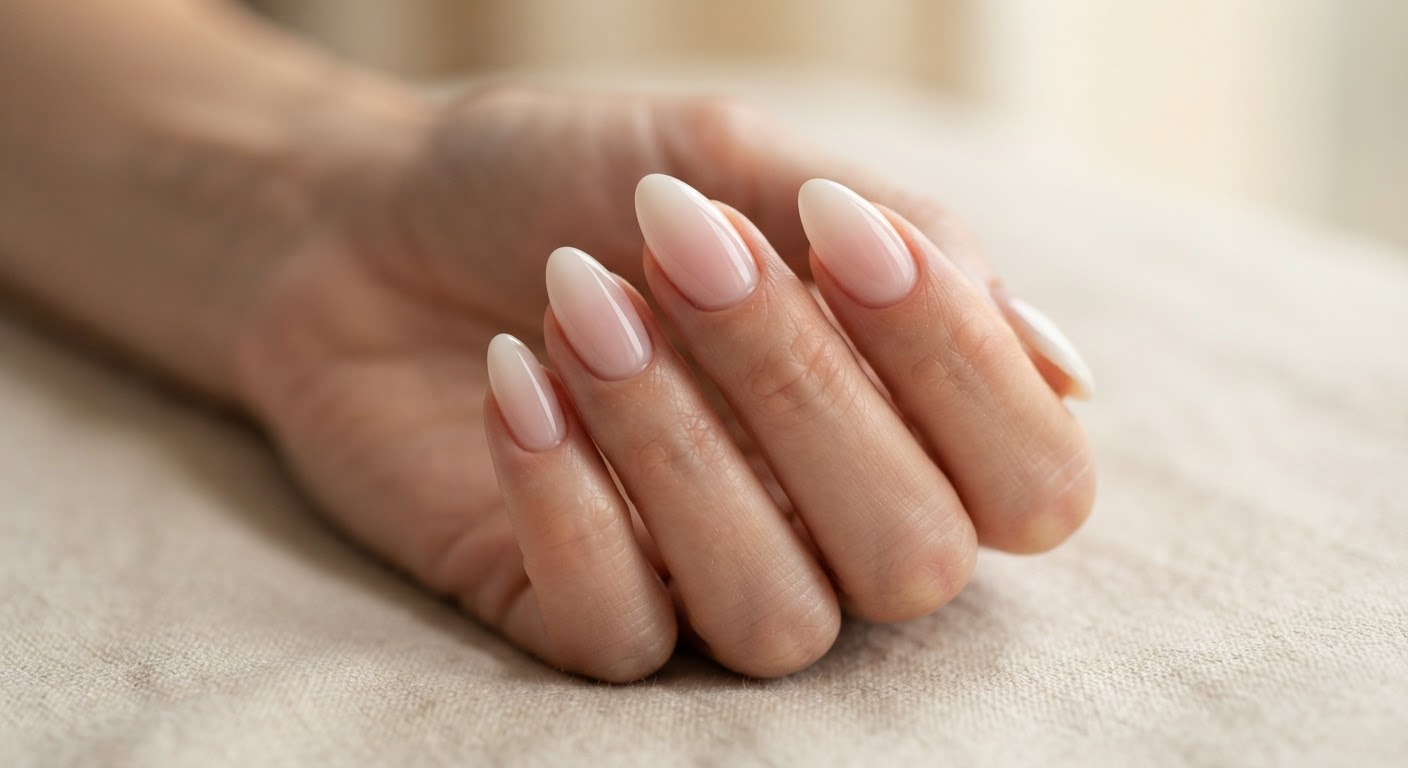
Sheer pink at the base melts into milky white at the tips. The structure underneath keeps a longer almond shape strong enough to wear every day.
| Polish | Shop |
|---|---|
| Sheer pink builder gel | Shop sheer pink builder gel |
| Milky white gel | Shop milky white gel |
| Glossy top coat | Shop gel top coat |
Micro French
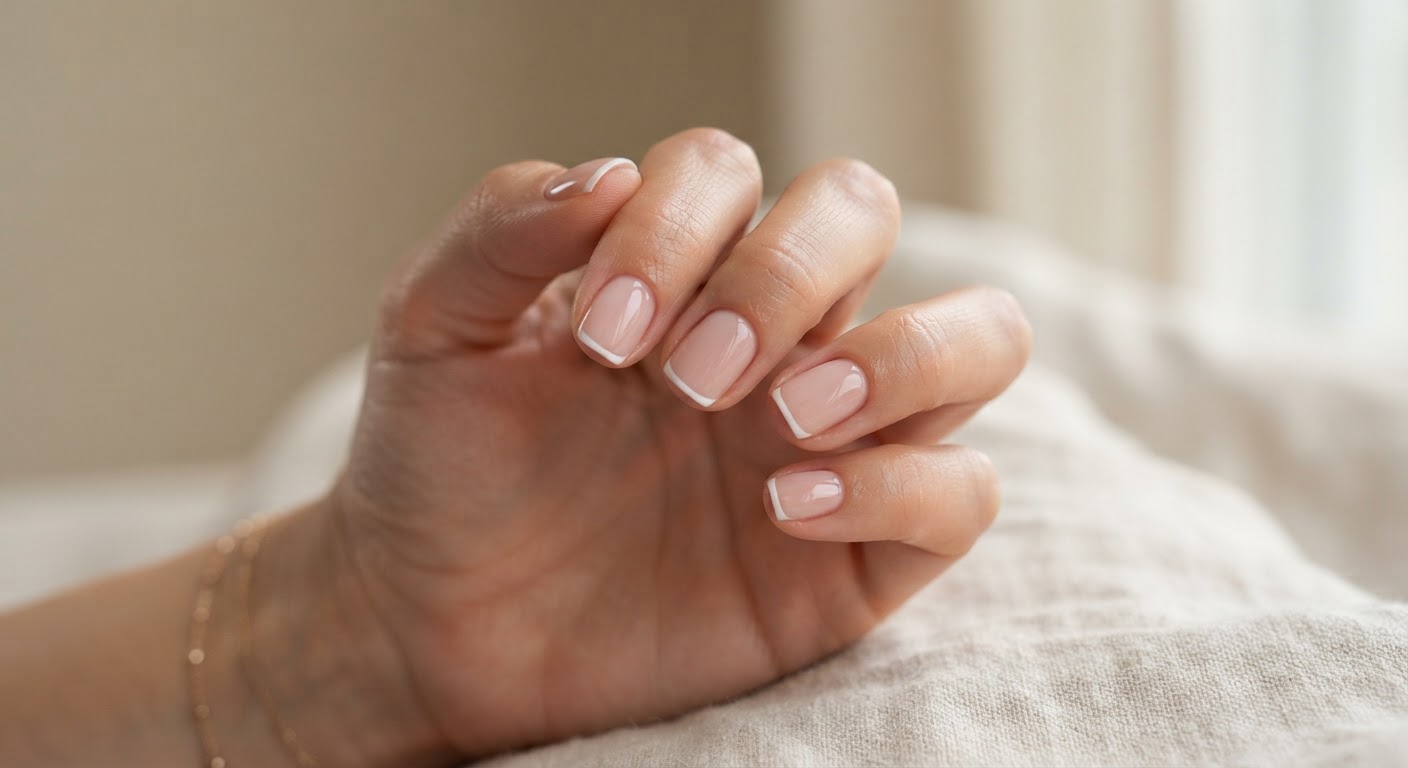
A very thin white line over a sheer nude base takes the classic French tip down to something quieter. It is a good match for short square nails.
| Polish | Shop |
|---|---|
| Sheer nude builder gel | Shop nude builder gel |
| White liner gel | Shop white liner gel |
| Glossy top coat | Shop gel top coat |
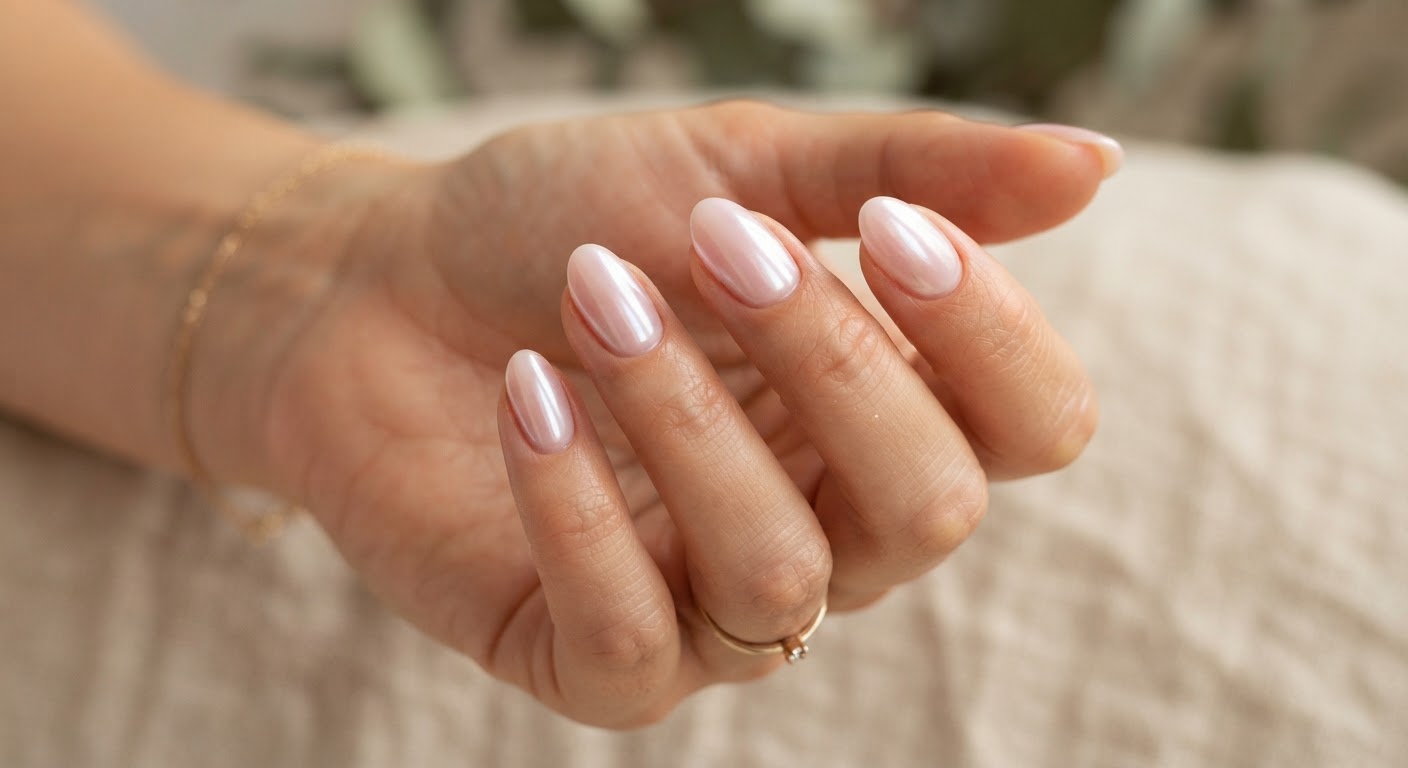
Glazed pearl
Pearl powder rubbed over a sheer milky pink base gives a luminous glazed finish. Our chrome nails guide explains the burnishing method.
| Polish | Shop |
|---|---|
| Sheer milky pink builder gel | Shop milky pink builder gel |
| Pearl chrome powder | Shop pearl chrome powder |
| No-wipe top coat | Shop no-wipe top coat |
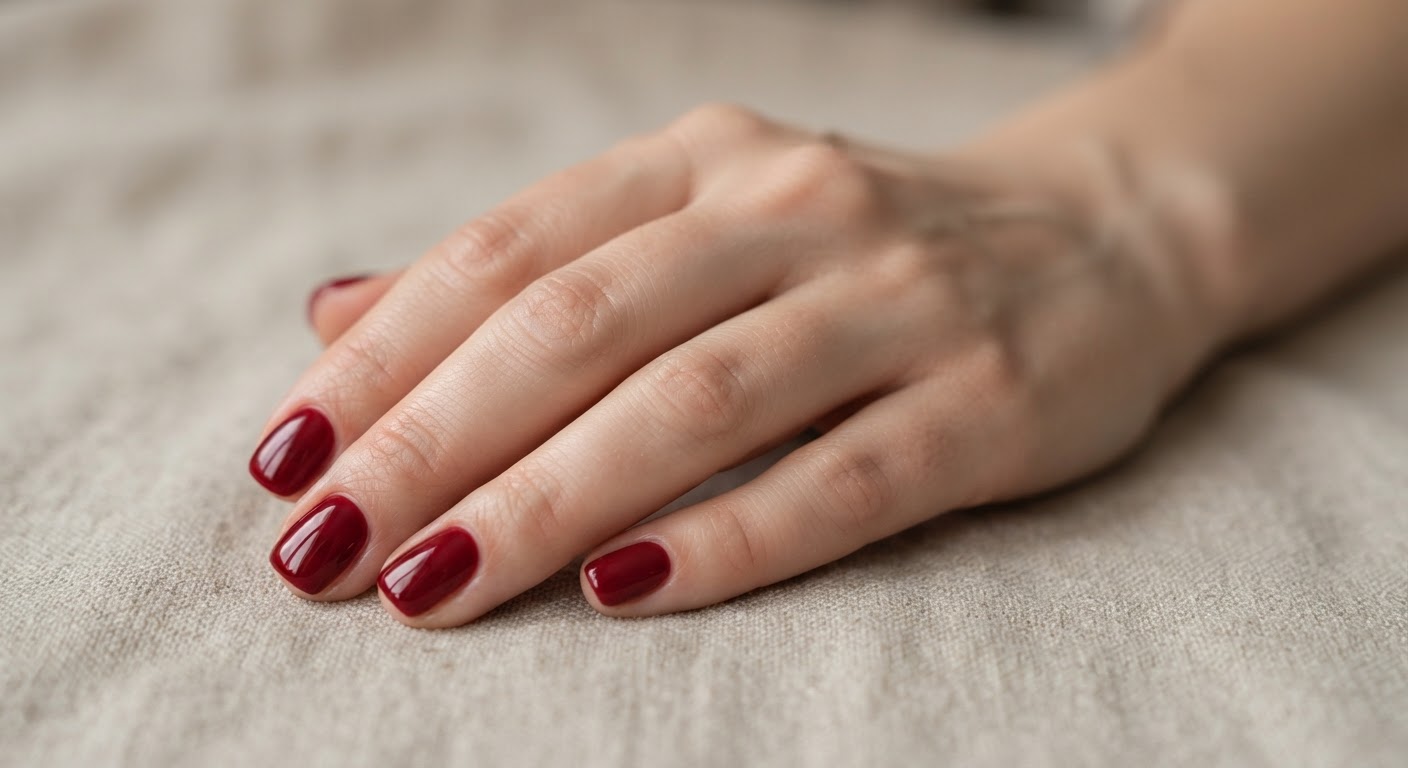
Short cherry red
A deep red shows off the smooth, domed surface a good overlay gives you. Any dark color will also reveal bumps, so spend a little more time refining the surface first.
| Polish | Shop |
|---|---|
| Clear builder gel base | Shop clear builder gel |
| Cherry red gel polish | Shop cherry red gel |
| Glossy top coat | Shop gel top coat |
Common questions
Is builder gel better than acrylic?
It depends on the goal. Builder gel is usually more flexible and suits natural nails and short length, while acrylic is generally stronger for long extensions and is less forgiving to remove.
Can you put builder gel on short nails?
Yes, and this is one of its best uses. A thin overlay on short nails adds strength with very little visible bulk.
Do you need a base coat under builder gel?
Some products are designed to go directly on the prepped nail and others need a base or bonder. Follow the instructions for your specific gel.
Can you put regular gel polish over builder gel?
Yes, once the builder is cured. Gel color and top coat go on top in the usual way. Using a matching system reduces the chance of curing problems.
Is builder gel bad for your nails?
Applied and removed properly, it is not inherently damaging. Most damage comes from over-filing, peeling or poor removal. The separate risk to take seriously is allergy, which is why contact with skin and full curing matter so much.
Can you do builder gel at home?
You can, but there is a learning curve, and the BAD has specifically warned about the allergy risks of home kits. Start with thin layers, use the lamp your gel specifies and keep the product off your skin.
How often should you get builder gel infills?
Every three to four weeks is typical. Fast nail growth or a heavy hands-on routine may call for slightly shorter intervals.
For nail techs and salon owners
Builder gel is well suited to a rebooking model, since clients who come in for strength tend to stay on an infill cycle. A few practical points when adding it to a menu:
- Choose one builder system and learn it fully, including its base, lamp and cure times, instead of mixing products
- Stock a matched manicure lamp for that system and track how long it has been in service
- Price infills for the time they really take, which is often the same as a new set
- Offer a HEMA-free option and record product reactions on the client's file
- Train staff on the apex, because a flat overlay is the most common reason clients think builder gel "didn't work"
Professional brands in the directory include NSI, and the gels and UV systems category covers other suppliers.
As an Amazon Associate, Nails Industry Directory earns from qualifying purchases.